High-Protein Adult Lunchable

High-Protein Adult Lunchable
- Total Time: 10 minutes
- Yield: 1 Serving 1x
Description
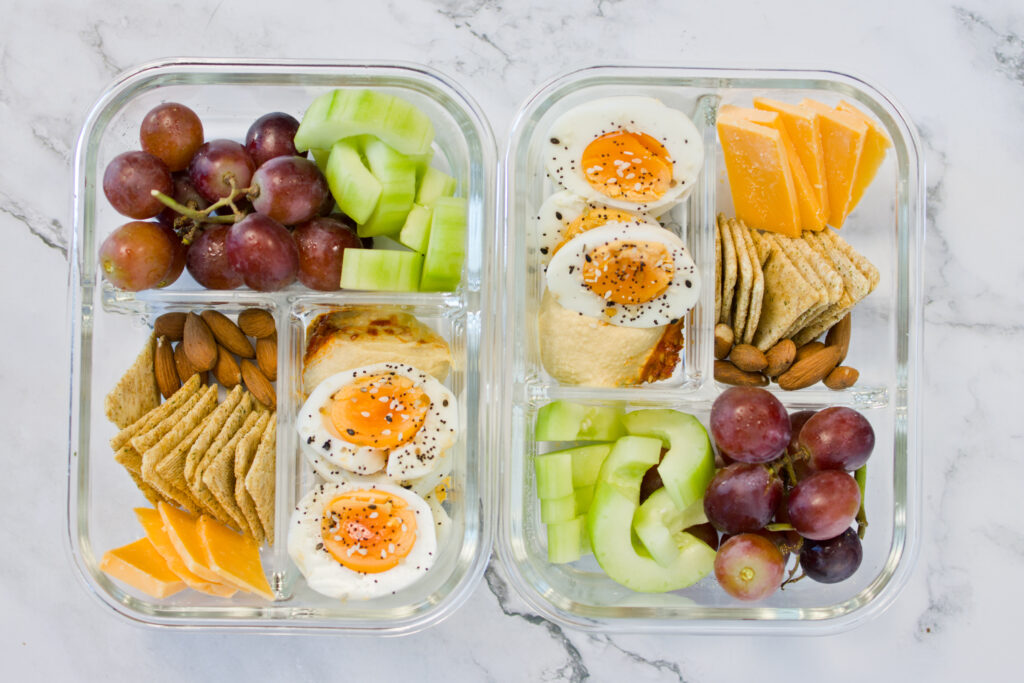
This High-Protein Adult Lunchable is packed with ~30g protein and comes together in just 10 minutes. Hard-boiled eggs, cheddar, hummus, almonds, crunchy veggies, whole-grain crackers, and fresh grapes make a balanced, satisfying lunch that’s easy to assemble, full of flavor, and perfect for meal prep or busy weekdays.
Ingredients
Units
Scale
- 2 Hard Boiled Eggs
- 1 oz Cheddar Cheese
- 2 Tbsp Hummus
- 1 oz Almonds
- 4–5 Whole Grain Crackers
- 1/2 cup Cucumber slices
- 1/2 cup Grapes
Instructions
- Grab a lunch container with dividers.
- Place 2 hard boiled eggs into the container. Sprinkle with everything bagel seasoning.
- Add the 1 oz cheddar cheese, 1 oz almonds to the container.
- Add 4-5 whole grain crackers.
- Add 1/2 cup cucumber slices and 1/2 cup grapes.
- Spoon 2 tbsp of hummus into a small section.
- Pop a lid on and put the container into the fridge and meal prep is done!
- Prep Time: 10 Minutes
- Category: High Protein, Meal Prep
- Method: No Bake
- Cuisine: American
Nutrition
- Serving Size: 1
- Calories: 589
- Sugar: 16g
- Sodium: 548mg
- Fat: 39g
- Carbohydrates: 36g
- Fiber: 5g
- Protein: 30g
- Cholesterol: 399mg
Recipe Card powered by