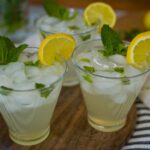
Sparkling Lemon Mint Mocktail
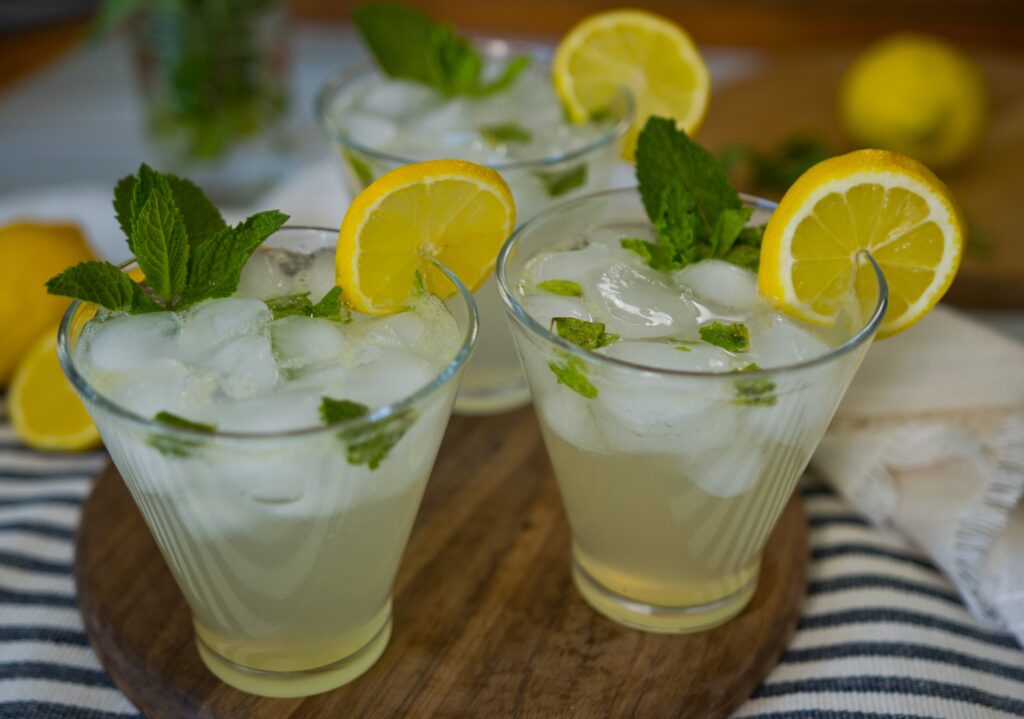
Sparkling Lemon Mint Mocktail
- Total Time: 5 minutes
- Yield: 1 Drink 1x
- Diet: Dairy-Free, Gluten-Free, Vegetarian
Description
This Sparkling Lemon Mint Mocktail is my favorite way to stay hydrated when I want something bright, bubbly, and a little bit fancy. It’s a citrus-forward refresher that balances tart lemon with a cool hint of mint, using a touch of honey for a more nourishing, natural sweetness. If you’re looking for a refreshing mocktail that isn’t loaded with sugar, this 5-ingredient recipe is the ultimate summer go-to. Simple, fizzy, and so good.
Ingredients
Units
Scale
- 1 cup Sparkling Water (plain or lemon flavored)
- 1/2 Fresh lemon, juiced (about 2 Tbsp)
- 1 tsp Honey (or sub maple syrup)
- 4–6 Fresh Mint Leaves
- 1 cup Ice
Instructions
- Squeeze the juice of half a lemon into a tall glass.
- Add the honey to the lemon juice and stir or whisk vigorously until fully dissolved. (Doing this before adding ice prevents the honey from seizing up!)
- Next, tear the mint leaves to release the oils then drop them into the glass. Or slap the mint leaves between your palms to release the oils, then add to the glass. Then, fill the glass with ice.
- Top with sparkling water and give the drink a gentle stir to combine.
- Garnish with a slice of lemon and an extra sprig of mint and enjoy!
- Prep Time: 5 Minutes
- Category: Anti-Inflammatory, Beverage, Drink
- Method: No Cook
- Cuisine: American
Nutrition
- Serving Size: 1
- Calories: 25
- Sugar: 6g
- Sodium: 0mg
- Fat: 0g
- Carbohydrates: 7g
- Fiber: 0g
- Protein: 0g
- Cholesterol: 0mg
Recipe Card powered by