When you use these links, we may earn a small commission at no extra cost to you—thanks for helping us keep things going!
High-Protein Ground Turkey Taco Bowl with Sweet Potato & Black Beans
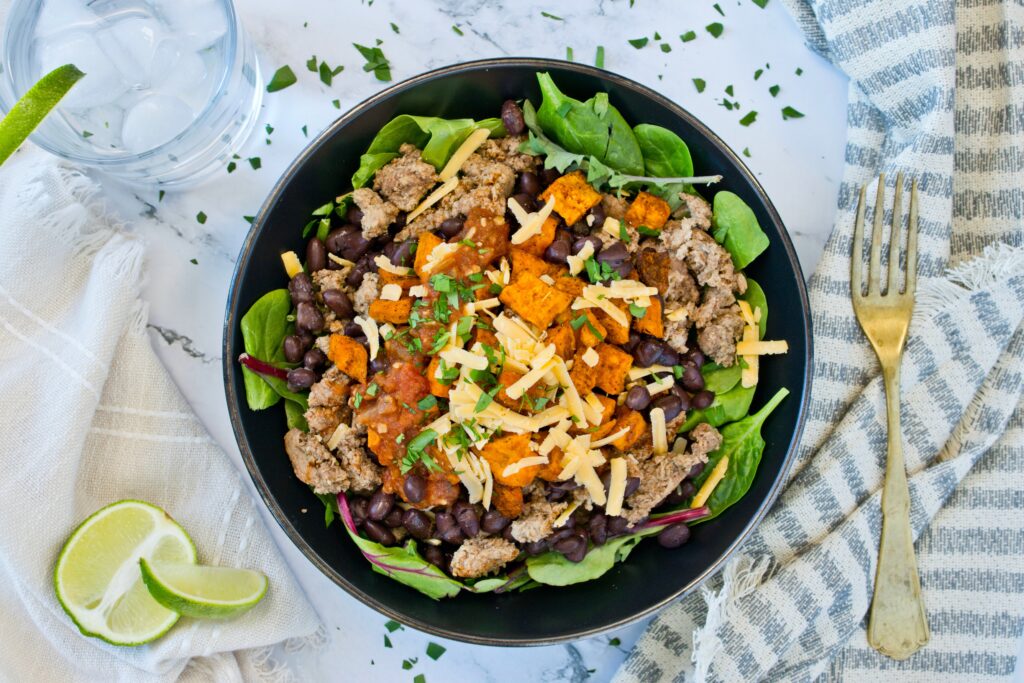

High-Protein Ground Turkey Taco Bowl with Sweet Potato & Black Beans
- Total Time: 35 minutes
- Yield: 4 Servings 1x
- Diet: Gluten-Free
Description
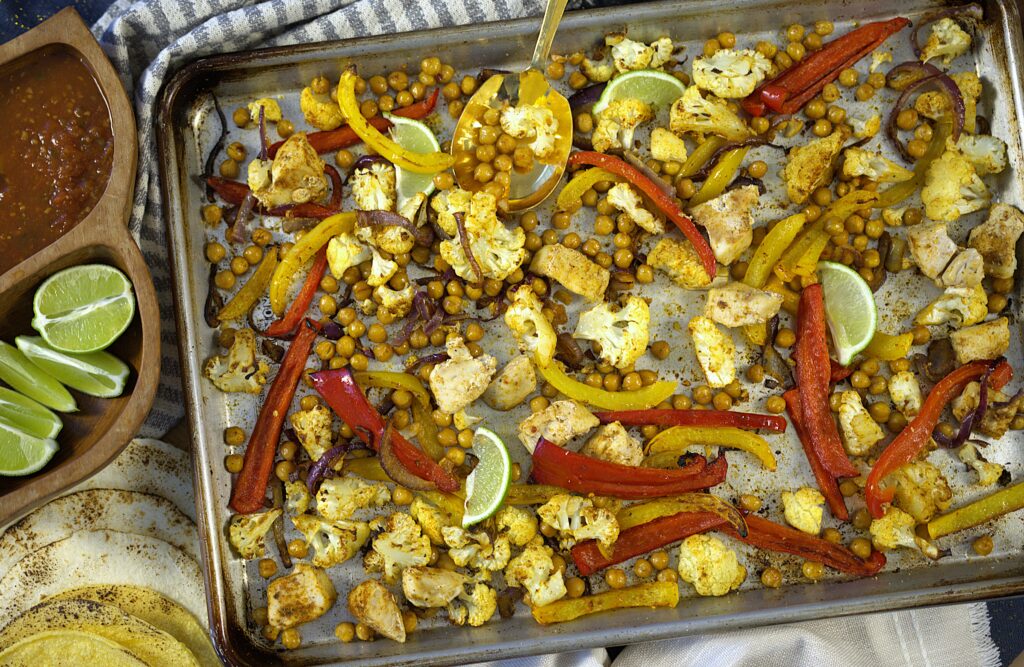
High-Protein Ground Turkey Taco Bowls are bursting with bold, savory flavor and make meal prep exciting. Tender turkey, smoky roasted sweet potatoes, black beans, and melty cheddar come together in a bowl that’s hearty, satisfying, and packed with protein. Top with avocado, salsa, or Greek yogurt for a customizable lunch or dinner that’ll keep you full and energized all week.
Ingredients
Units
Scale
Main Ingredients:
- 1 1/2 lb Lean Ground Turkey
- 2 cups Black Beans, drained and rinsed (~1 1/2 cans)
- 3 cups Sweet Potato, peeled and diced into 1/2-inch pieces (about 2 medium sweet potatoes)
- 4 cups Mixed Greens or Spinach
- 1 cup Cheddar Cheese, shredded
Spices for Sweet Potatoes:
- 1/2 tsp Chili Powder
- 1/2 tsp Cumin
- Smoked Paprika
- 1/4 tsp Kosher Salt
- 1/4 tsp Black Pepper
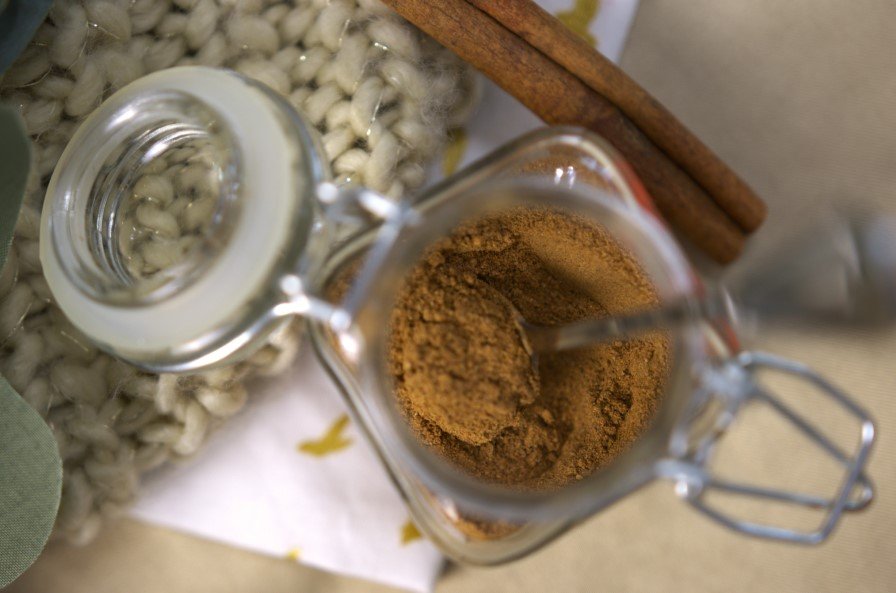
Spices for Turkey Taco Seasoning:
- 1 1/2 tsp Chili Powder
- 3/4 tsp Cumin
- 1/2 tsp Smoked Paprika
- 1/2 tsp Onion Powder
- 1/2 tsp Garlic Powder
- 1/2 tsp Dried Oregano
- 1/2 tsp Kosher Salt
- 1/4 tsp Black Pepper
Optional Toppings:
- Salsa
- Hot Sauce
- Greek Yogurt
- Avocado
Instructions
Roast the Sweet Potatoes:
- Preheat oven to 425° F. Cover a large sheet tray with foil and set aside.
- Pour 2 tsp olive oil onto the sheet tray, then add the diced sweet potato.
- Season the sweet potatoes with 1/2 tsp chili powder, 1/2 tsp smoked paprika, 1/4 tsp cumin, 1/4 tsp salt and 1/4 tsp black pepper.
- Stir together to evenly coat the potatoes. Roast for 20-25 minutes stirring halfway, until the sweet potatoes are tender and lightly caramelized.
Cook the Ground Turkey:
- Heat a large skillet over medium heat. Add 2 tsp olive oil.
- Add the ground turkey and cook, breaking it into small crumbles, until fully browned (7-8 minutes).
- Add the spices, 1 1/2 tsp chili powder, 3/4 tsp cumin, 1/2 tsp smoked paprika, 1/2 tsp onion powder. 1/2 tsp garlic powder, 1/2 tsp dried oregano, 1/2 tsp salt and 1/4 tsp pepper.
- Stir to combine and cook for another 1-2 minutes for the spices to season the meat.
Assemble the Bowls:
- Divide the 4 cups of greens into 4 containers.
- Top each with 1/4 of the turkey mixture, then 1/2 cup of the rinsed black beans.
- Next add 3/4 cup of the roasted sweet potatoes to each container or bowl. Top with 1/4 cup cheese per serving.
- Seal with an airtight lid and place into the refrigerator until you are ready to enjoy.
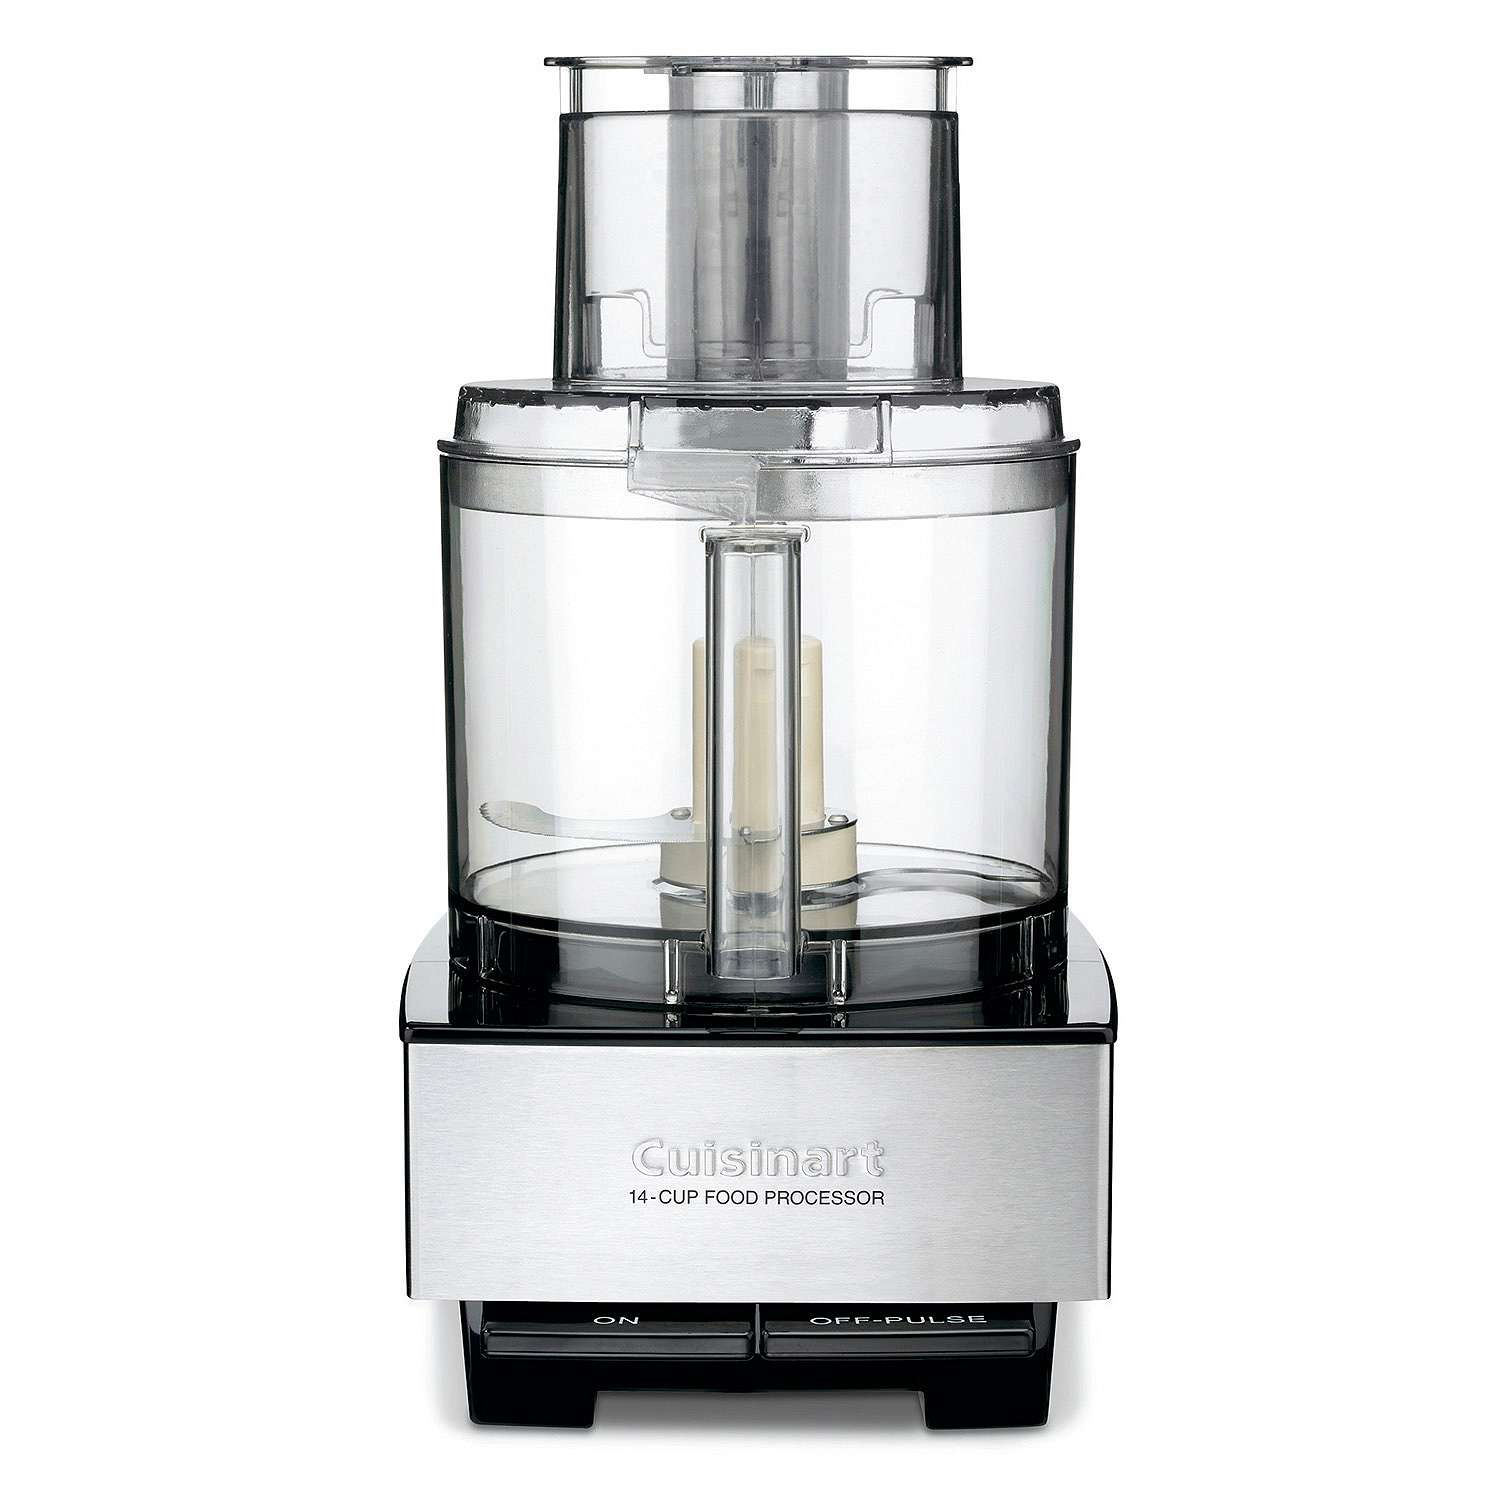
Equipment
 Buy Now →
 Notes
- When you are ready to eat, heat the bowls in the microwave for 2-3 minutes, top with any additional toppings you like (my fav is a little hot sauce!) and enjoy!
- Dishes will keep well in the refrigerator for 3-4 days.
- Prep Time: 10 Minutes
- Cook Time: 25 Minutes
- Category: Dinner, High Protein, Lunch, Meal Prep
- Method: Roast, Skillet
- Cuisine: Mexican
Nutrition
- Serving Size: 1
- Calories: 594
- Sugar: 4.7g
- Sodium: 832mg
- Fat: 25g
- Carbohydrates: 44g
- Fiber: 12g
- Protein: 52g
- Cholesterol: 149mg
Recipe Card powered by