When you use these links, we may earn a small commission at no extra cost to you—thanks for helping us keep things going!
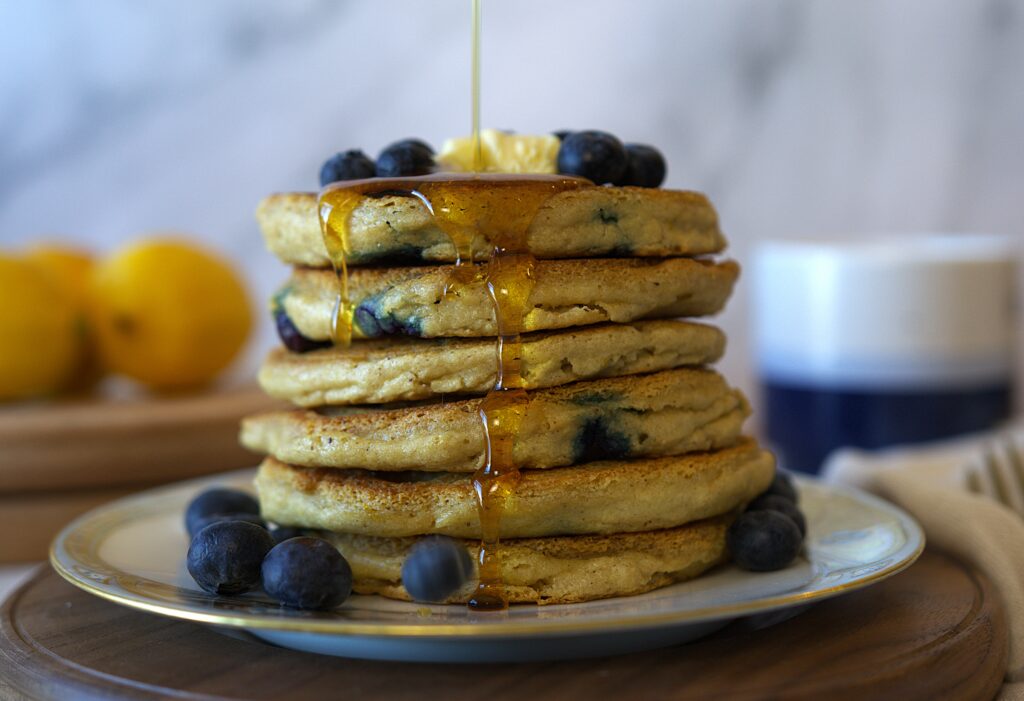
Fluffy Whole Wheat Pancakes
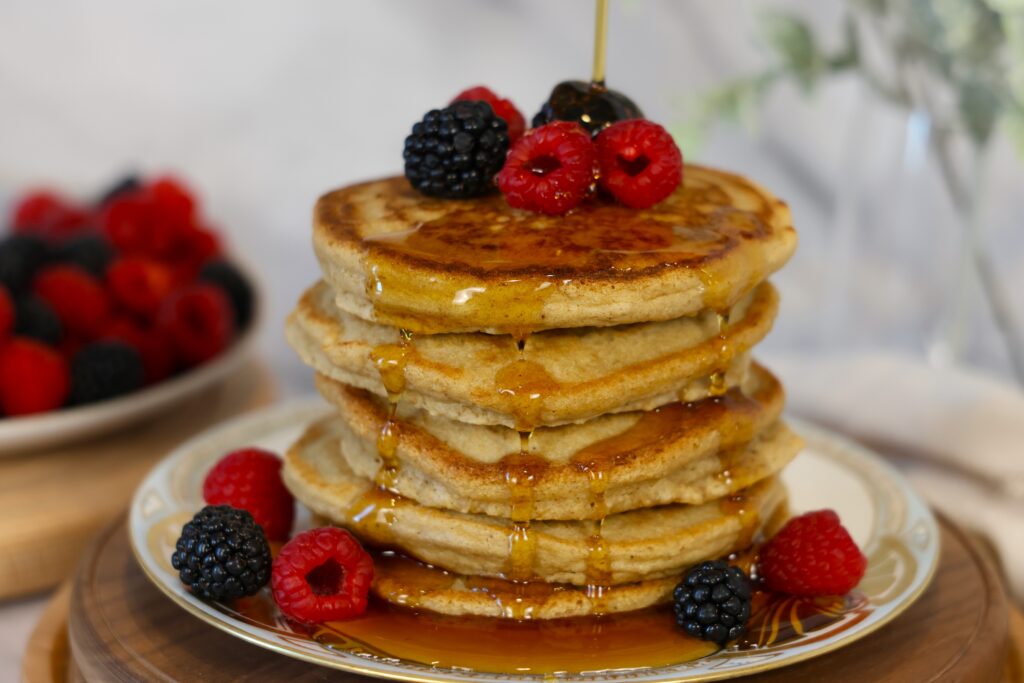

Fluffy Whole Wheat Pancakes
- Total Time: 28 minutes
- Yield: 18–20 Pancakes 1x
- Diet: Vegetarian
Description
These Fluffy Whole Wheat Pancakes come together in one bowl and use 100% white whole wheat flour, so they’re hearty without being heavy. Lightly sweetened with maple syrup and perfectly soft, they’re great for slow weekend mornings or making ahead for busy weekdays. Cozy, simple, and no extra dishes.
Ingredients
Units
Scale
- 3 cups White Whole Wheat Flour
- 1 1/2 Tbsp Baking Powder
- 1 1/2 tsp Ground Cinnamon
- 3/4 tsp Kosher Salt
- 2 cups + 2 tbsp Milk
- 3 Eggs
- 1/4 cup Maple Syrup
- 4 Tbsp Unsalted Butter, melted
Instructions
- In a large bowl, whisk together the milk, eggs, maple syrup, and melted butter until smooth.
- Add the flour, baking powder, cinnamon, and salt directly to the same bowl.
- Whisk ingredients together until just combined. Take care not to overmix, some lumps are okay.
- Heat a nonstick skillet or griddle over medium heat and lightly grease with butter or oil.
- Pour ¼ cup of batter per pancake onto the skillet. Cook until bubbles form on the surface and the edges look set, about 2-3 minutes.
- Flip and cook the pancake for another 1-2 minutes until golden brown and cooked through.
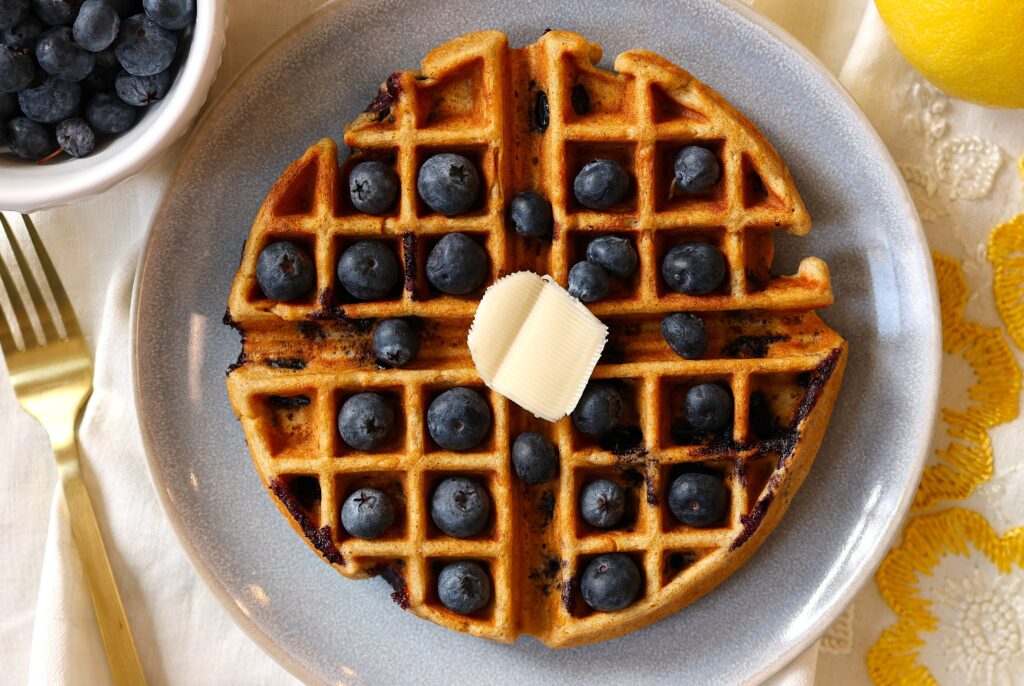
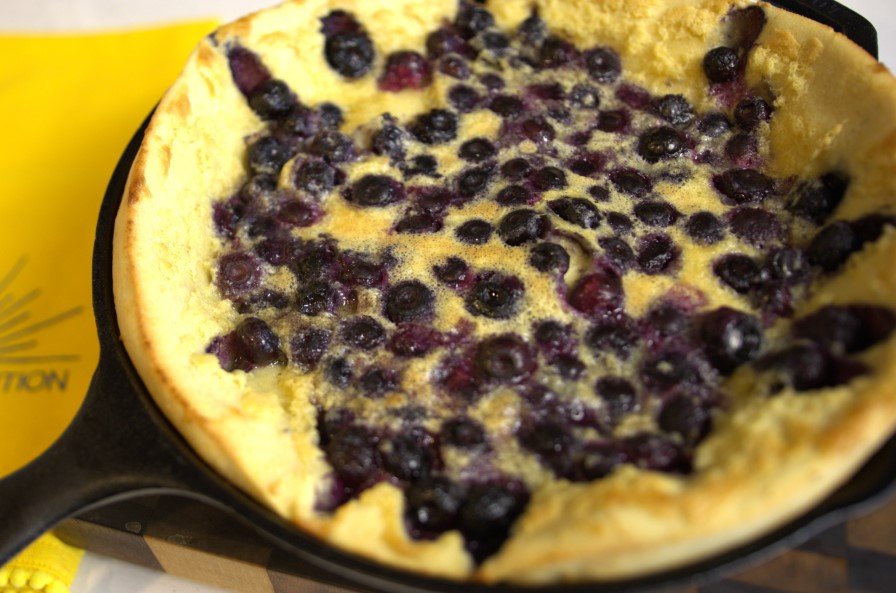
- Serve warm with your favorite toppings like fresh berries, blackberry compote, or more maple syrup. Enjoy!
Equipment
 Buy Now →
 - Prep Time: 8 Minutes
- Cook Time: 20
- Category: Breakfast
- Method: Griddle
- Cuisine: American
Nutrition
- Serving Size: 2 Pancakes
- Calories: 211
- Sugar: 7.4g
- Sodium: 382mg
- Fat: 7.7g
- Carbohydrates: 30g
- Fiber: 3.4g
- Protein: 7.5g
- Cholesterol: 72mg
Recipe Card powered by