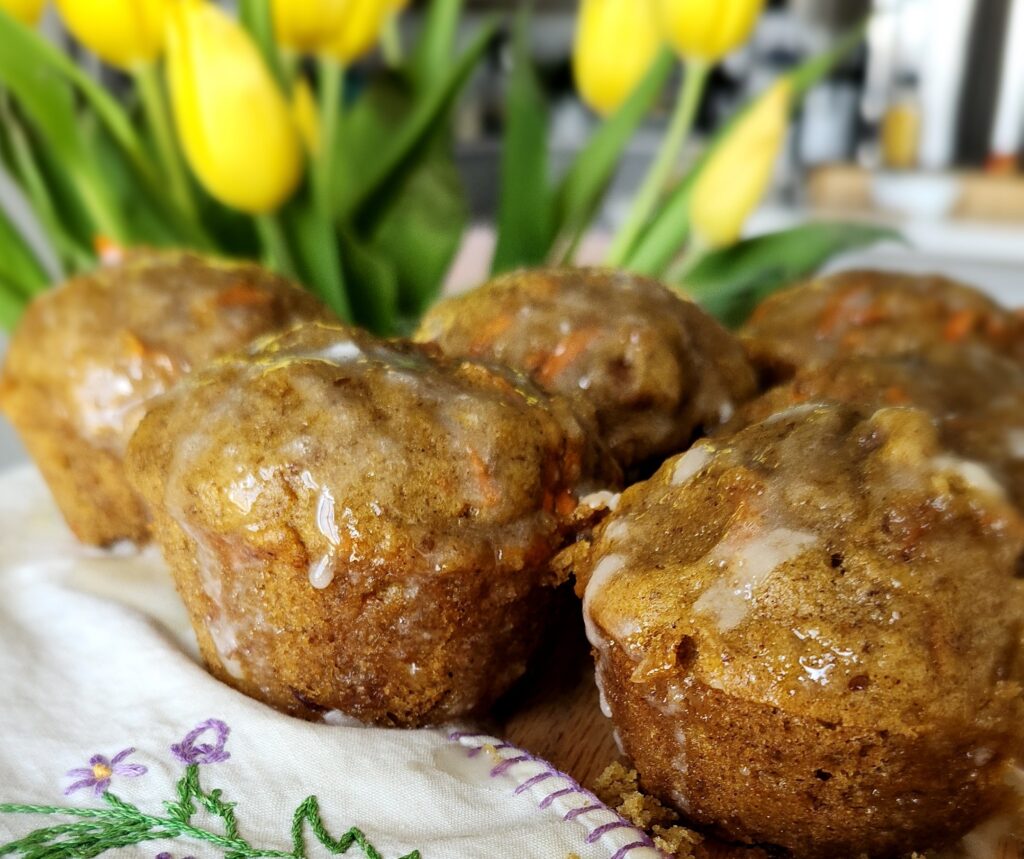
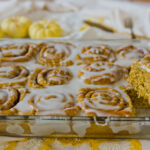
Pumpkin Sourdough Cinnamon Rolls
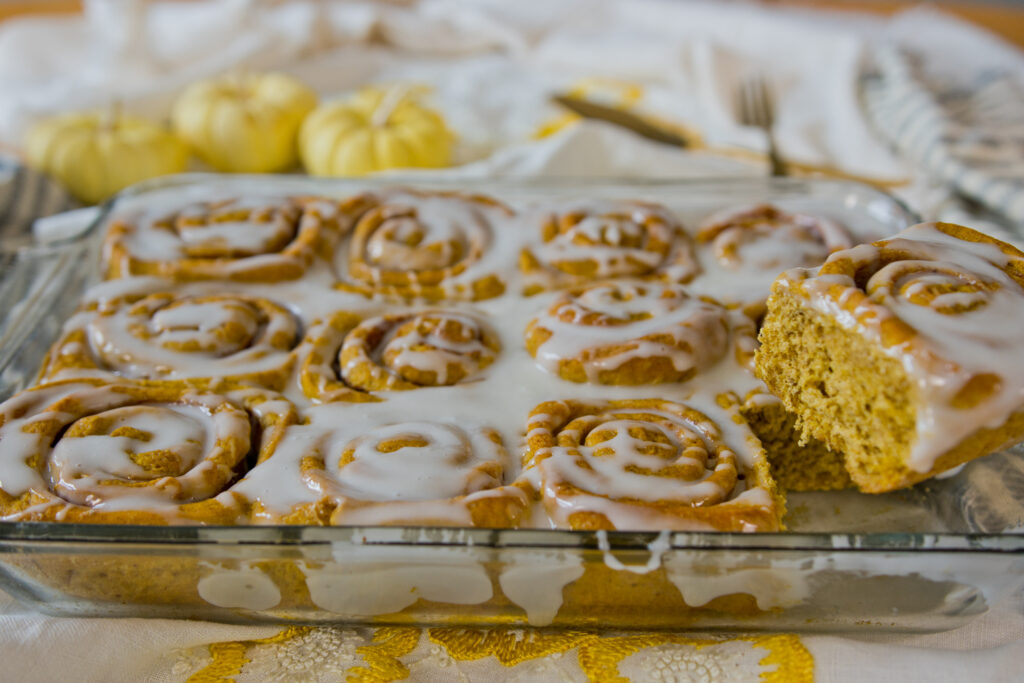
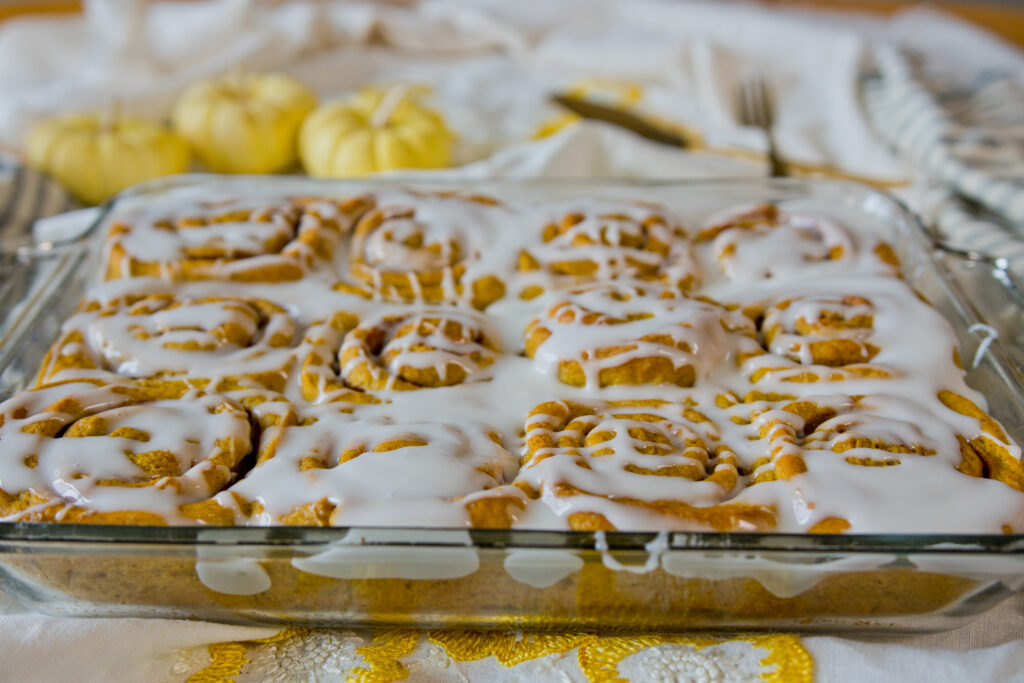
Pumpkin Sourdough Cinnamon Rolls
- Total Time: 2 hours 50 minutes
- Yield: 12 Rolls 1x
- Diet: Vegetarian
Description
Soft, fluffy pumpkin sourdough cinnamon rolls loaded with warm spices and a sweet, cozy filling. The pumpkin keeps them extra tender, the sourdough adds great flavor, and the whole pan makes your kitchen smell incredible. Perfect for slow weekends, fall brunch, or anytime you want a homemade treat that feels a little special.
Ingredients
Units
Scale
Dough:
- 1/2 cup Sourdough Starter
- 1/2 cup Milk
- 3/4 cup Pumpkin Puree
- 2 Tbsp Melted Butter
- 1 Egg
- 1/2 cup Maple Syrup
- 1 1/4 tsp Yeast
- 2 tsp Vanilla Extract
- 3 cups All Purpose Flour
- 1/2 cup Whole Wheat Flour
- 2 Tbsp Pumpkin Pie Spice
- 1 tsp Kosher Salt
- 1/2 tsp Baking Soda
Filling:
- 2 Tbsp Melted Butter
- 1/4 cup Brown Sugar
- 1 tsp Cinnamon
- 1/2 tsp Pumpkin Pie Spice
Glaze:
- 1 1/2 cup Powdered Sugar
- 1 1/2 – 2 tbsp Milk
Instructions
- Prepare the Dough: To the bowl of a stand mixer add the starter, milk, pumpkin puree, melted butter, egg, maple syrup, vanilla extract and yeast. Mix together until fully incorporated.
- Add Dry Ingredients: In a separate bowl, whisk together the all purpose flour, whole wheat flour, pumpkin pie spice, salt and baking soda. Then, slowly and gradually add the dry ingredients into the we mixture, stirring in between, until a soft dough forms.
- Knead the Dough: Using the dough hook, knead the dough for 2-3 minutes until it becomes smooth and elastic. Cover your stand mixer bowl and allow the dough to rise in a warm place for 1-2 hours, or until doubled in size.
- Roll and Fill: Roll out the dough on a lightly floured surface into a rectangle about 8″ x 16″. Spread the melted butter over the dough, then sprinkle evenly with the filling mixture.
- Shape the Rolls: Starting from the top, long side, roll up the dough into a tight log roll. Pinch the seam to seal the rolls. Next, cut the log into 12 equal pieces. (Tip: Cut the log in half, then cut each half, in half again, then cut into 3.)
- Place the rolls into a greased 9×13″ baking pan, cover with aluminum foil, and allow to rise for an additional 45-60 minutes. The rolls should be nice and puffy and fill your pan.
- Bake the Rolls: Preheat your oven to 375°F. Place the rolls into the oven and bake for 25-30 minutes until golden on top and cooked through.
- Make the Glaze: While the rolls bake, mix up the glaze. In a small bowl whisk together the powdered sugar and milk.
- Glaze the Rolls: Let the rolls cool slightly for 5 minutes. Then drizzle the glaze over top.
- Serve warm, enjoy!
- Prep Time: 20 Minutes
- Rise Time: 2 Hours
- Cook Time: 30
- Category: Breakfast, Brunch
- Method: Bake
- Cuisine: American
Nutrition
- Serving Size: 1 Roll
- Calories: 250
- Sugar: 12g
- Sodium: 220mg
- Fat: 9g
- Carbohydrates: 38g
- Fiber: 3g
- Protein: 5g
- Cholesterol: 45mg
Recipe Card powered by