When you use these links, we may earn a small commission at no extra cost to you—thanks for helping us keep things going!
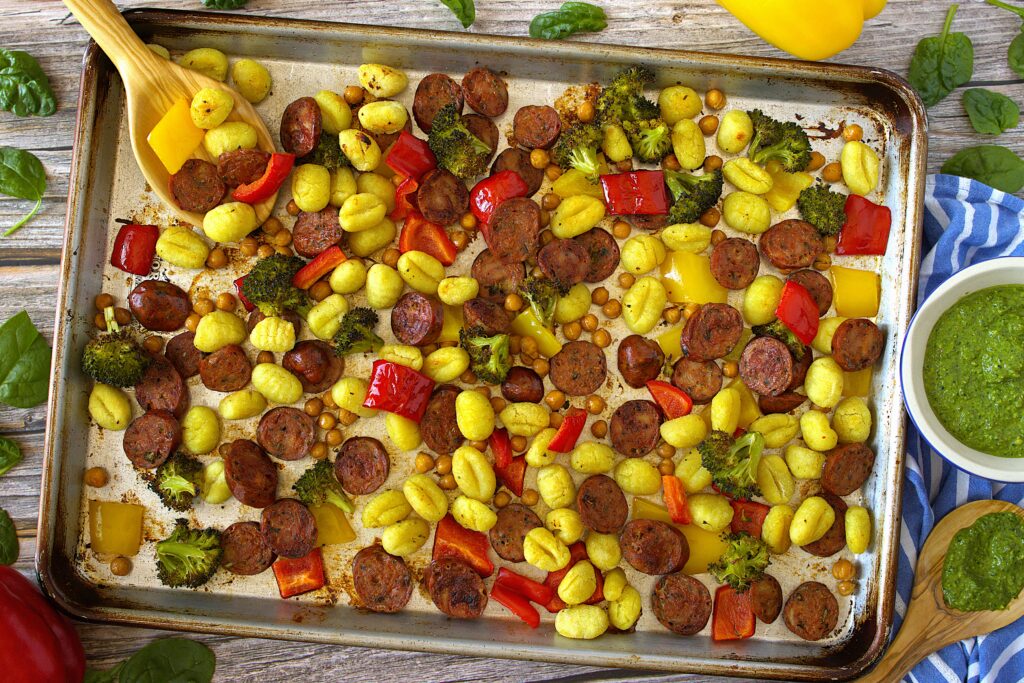
Easy Sheet Pan Gnocchi with Chicken Sausage and Veggies
Print
Easy Sheet Pan Gnocchi with Chicken Sausage and Veggies
- Total Time: 45 minutes
- Yield: 6 Servings 1x
Description
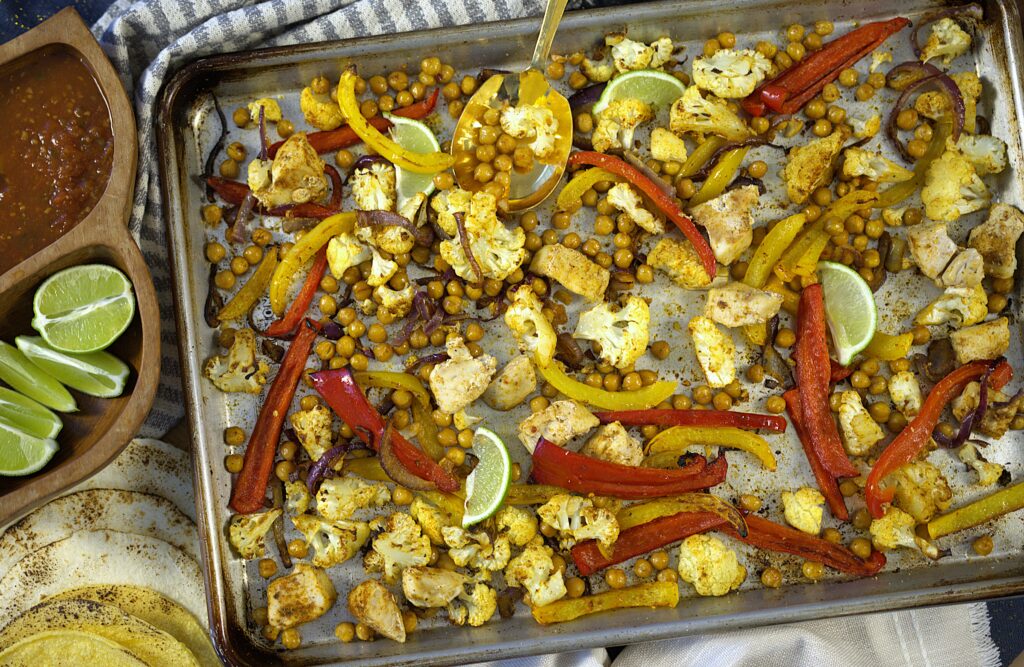
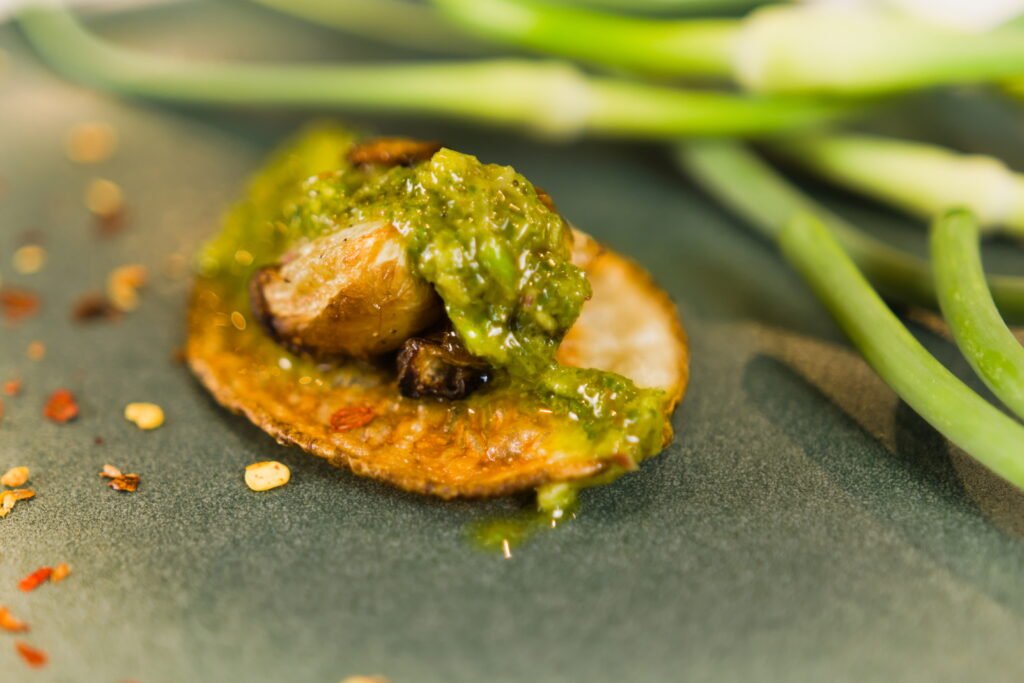
Simple, quick and packed with flavor, this easy sheet pan gnocchi with chicken sausage and veggies is a one-pan dinner perfect for weeknights! Made with gnocchi, packed with veggies and fiber it all comes together in under 40 minutes—no boiling required! A drizzle of spinach pesto adds a fresh, herby finish.
Ingredients
Scale
- 3 tbsp Olive Oil
- 12 oz Italian Chicken Sausages, sliced into rounds
- 1 (16oz) Package Shelf-Stable Potato Gnocchi
- 1 Large Head Broccoli, cut into florets (about 3 cups)
- 2, Bell Peppers (1 Yellow, 1 Red) seeded and chopped into 1-inch pieces
- 1 (15 oz Can) Chickpeas, drained and rinsed for drizzling
- 1/4–1/3 cup Spinach Pesto for drizzling
Instructions
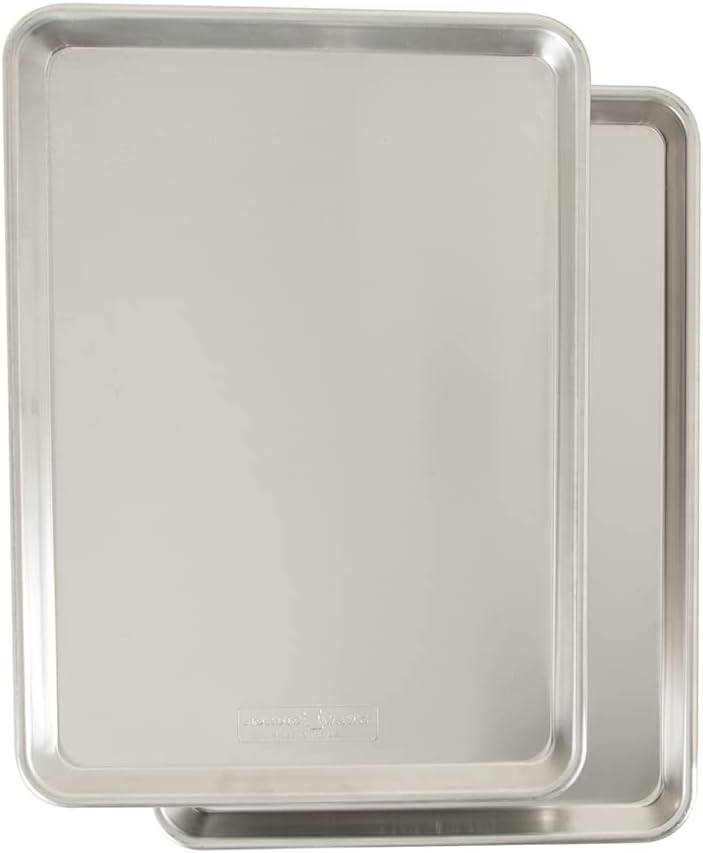
- Preheat your oven to 400°F and line a large sheet pan with parchment paper or foil.
- On the sheet pan, toss together the olive oil, sliced chicken sausage, gnocchi, broccoli, and chickpeas until everything is well coated.
- Spread the mixture into an even layer and bake for 25 minutes, or until the gnocchi is tender and the broccoli is mostly cooked through.
- Increase the oven temperature to 425°F. Add the bell peppers to the sheet pan and give everything a quick toss. Return to the oven and roast for another 5–7 minutes, until the peppers are just softened and the broccoli is starting to char on the edges.
- Remove from the oven and drizzle with spinach pesto just before serving.
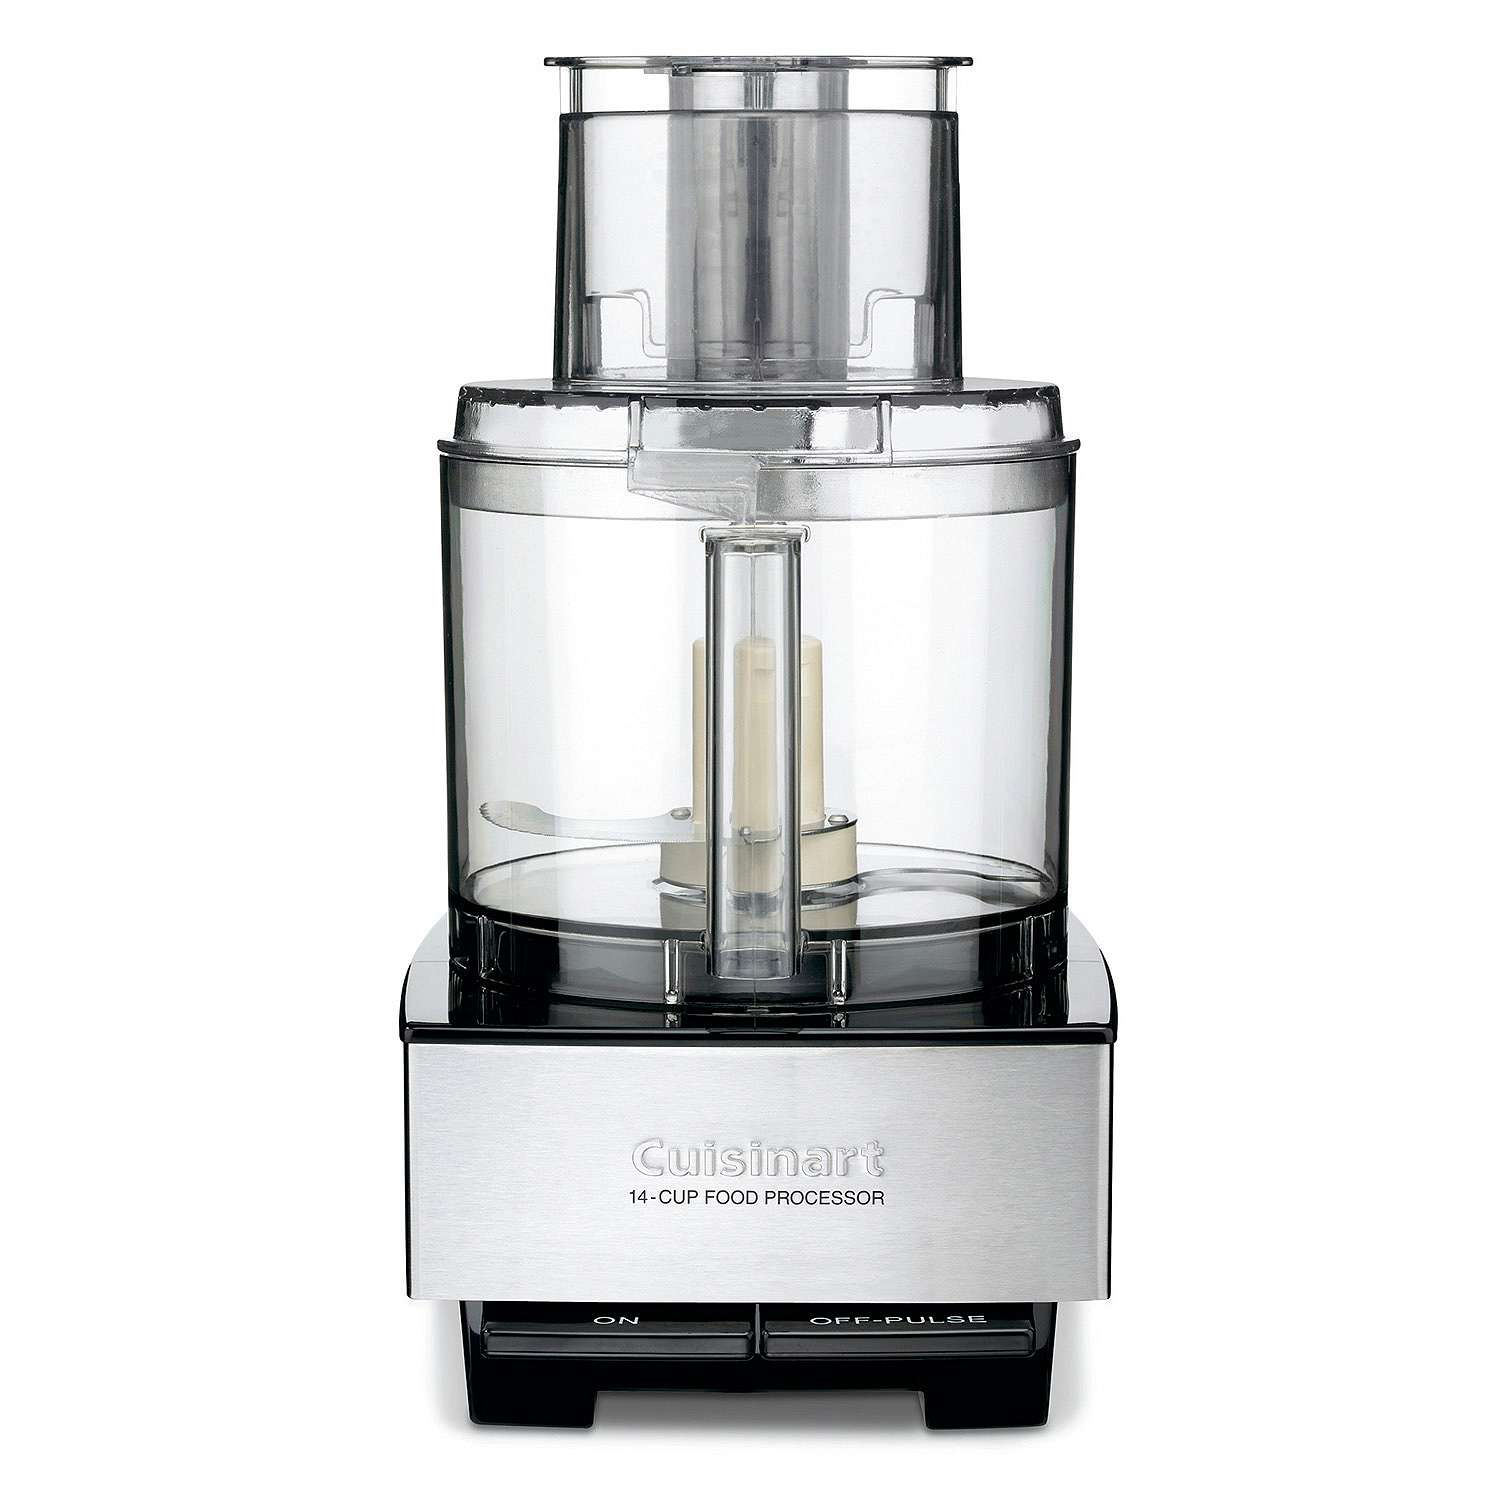
Equipment
 Buy Now →
 - Prep Time: 10
- Cook Time: 35
- Category: Dinner, Sheet Pan
- Method: Oven
- Cuisine: Italian
Nutrition
- Serving Size: 1/6
- Calories: 386
- Sugar: 5g
- Sodium: 750mg
- Fat: 11g
- Carbohydrates: 51g
- Fiber: 8g
- Protein: 20g
- Cholesterol: 50mg
Recipe Card powered by