When you use these links, we may earn a small commission at no extra cost to you—thanks for helping us keep things going!
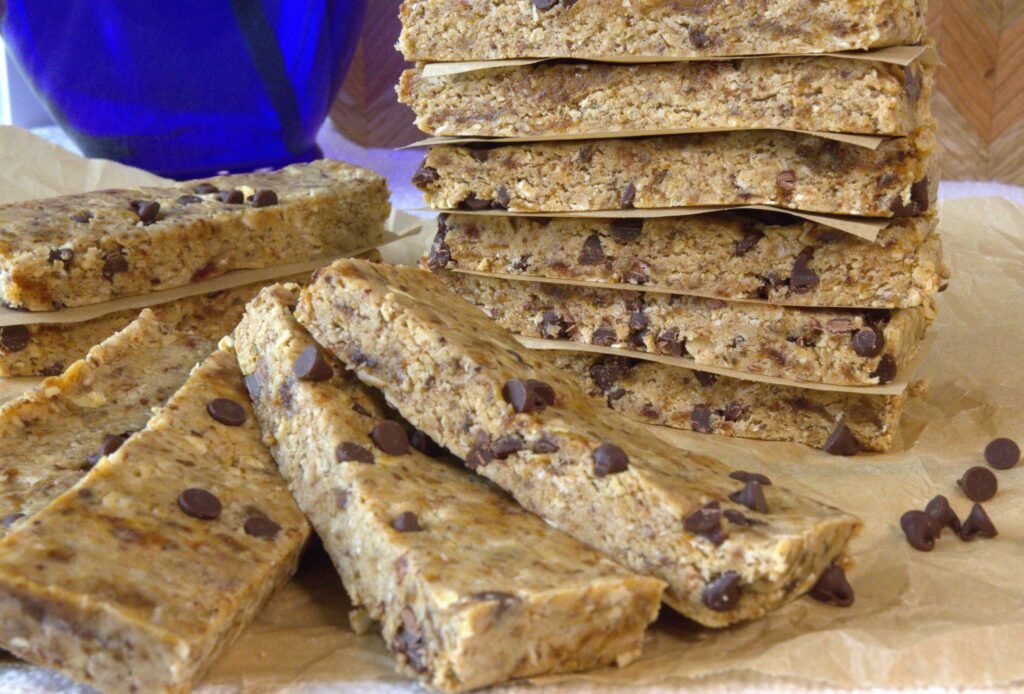
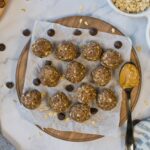
Healthy Date Snicker’s Bars
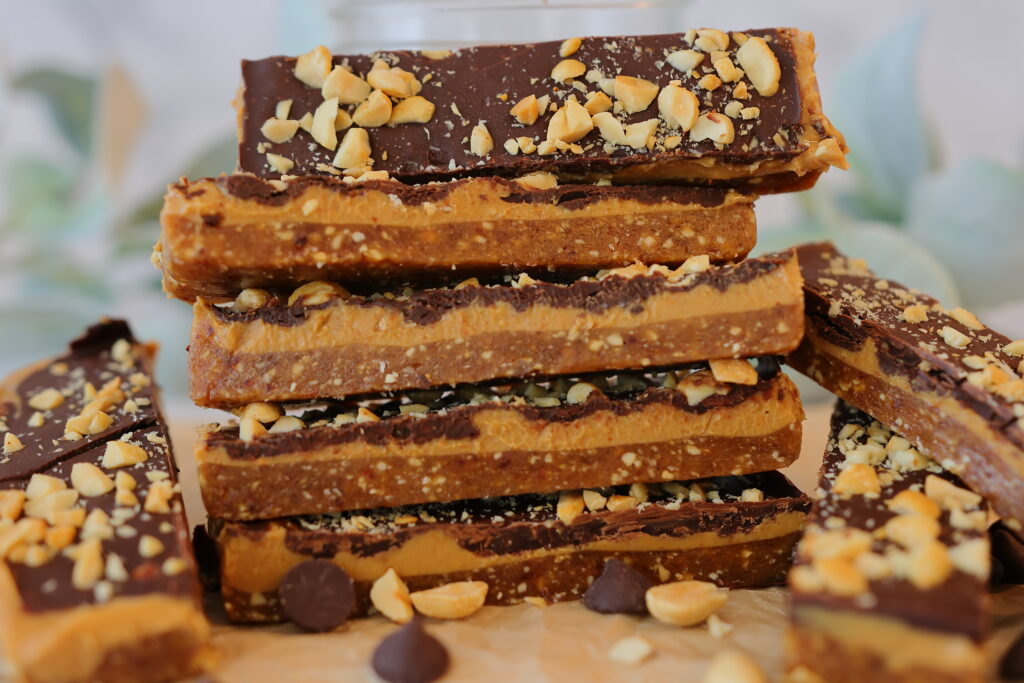
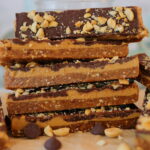
Healthy Date Snicker’s Bars
- Total Time: 1 hour, 10 minutes
- Yield: 8 Bars 1x
- Diet: Vegan
Description
Healthy Date Snickers Bars are made with just 4 wholesome ingredients—dates, peanuts, peanut butter, and dark chocolate—for a naturally sweet, chewy, and satisfying treat. No baking, no added sugar, and no fuss. They’re the perfect better-for-you version of a classic favorite—great for meal prep, lunchbox treats, or an afternoon pick-me-up!
Ingredients
Units
Scale
- 1 cup Pitted Dates
- 1/2 cup + 2 tbsp Peanuts
- 2/3 cup Natural Peanut Butter
- 1/2 cup Chocolate Chips
Instructions
- Line a 9×5-inch loaf pan with parchment paper, leaving some overhang on the sides. Set aside.
- Add the dates to a food processor and plus until broke down into small, pea-size pieces.
- Add 1/2 cup of peanuts and process for 30 seconds to 1 minute until the mixture starts to stick together when pressed between your fingers. (Careful not to touch the blade!)
- Transfer the mixture to the prepared pan and press it firmly and evenly into the bottom using your hands or the bottom of a measuring cup.
- Spread the peanut butter evenly over the date layer.
- In a microwave safe bowl, melt the chocolate chips in 25-second intervals, stirring between each, until smooth.
- Pour the melted chocolate over the peanut butter layer and spread evenly with a spatula.
- Finely chop the remaining 2 tbsp peanuts and sprinkle over the chocolate.
- Freeze the bars for 1-2 hours, until firm.
- Remove from freezer and slice into 8 bars. Enjoy!
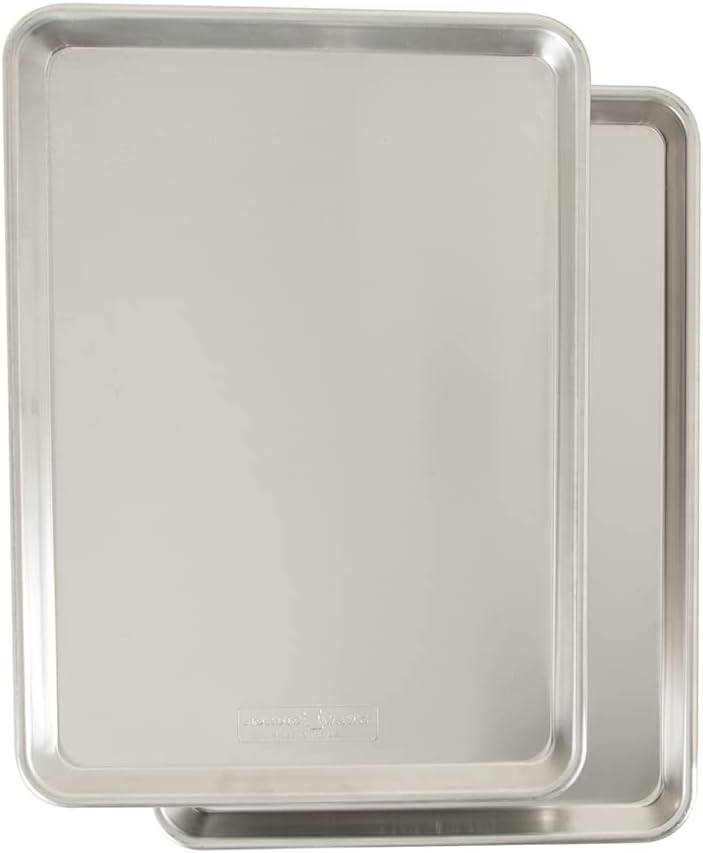
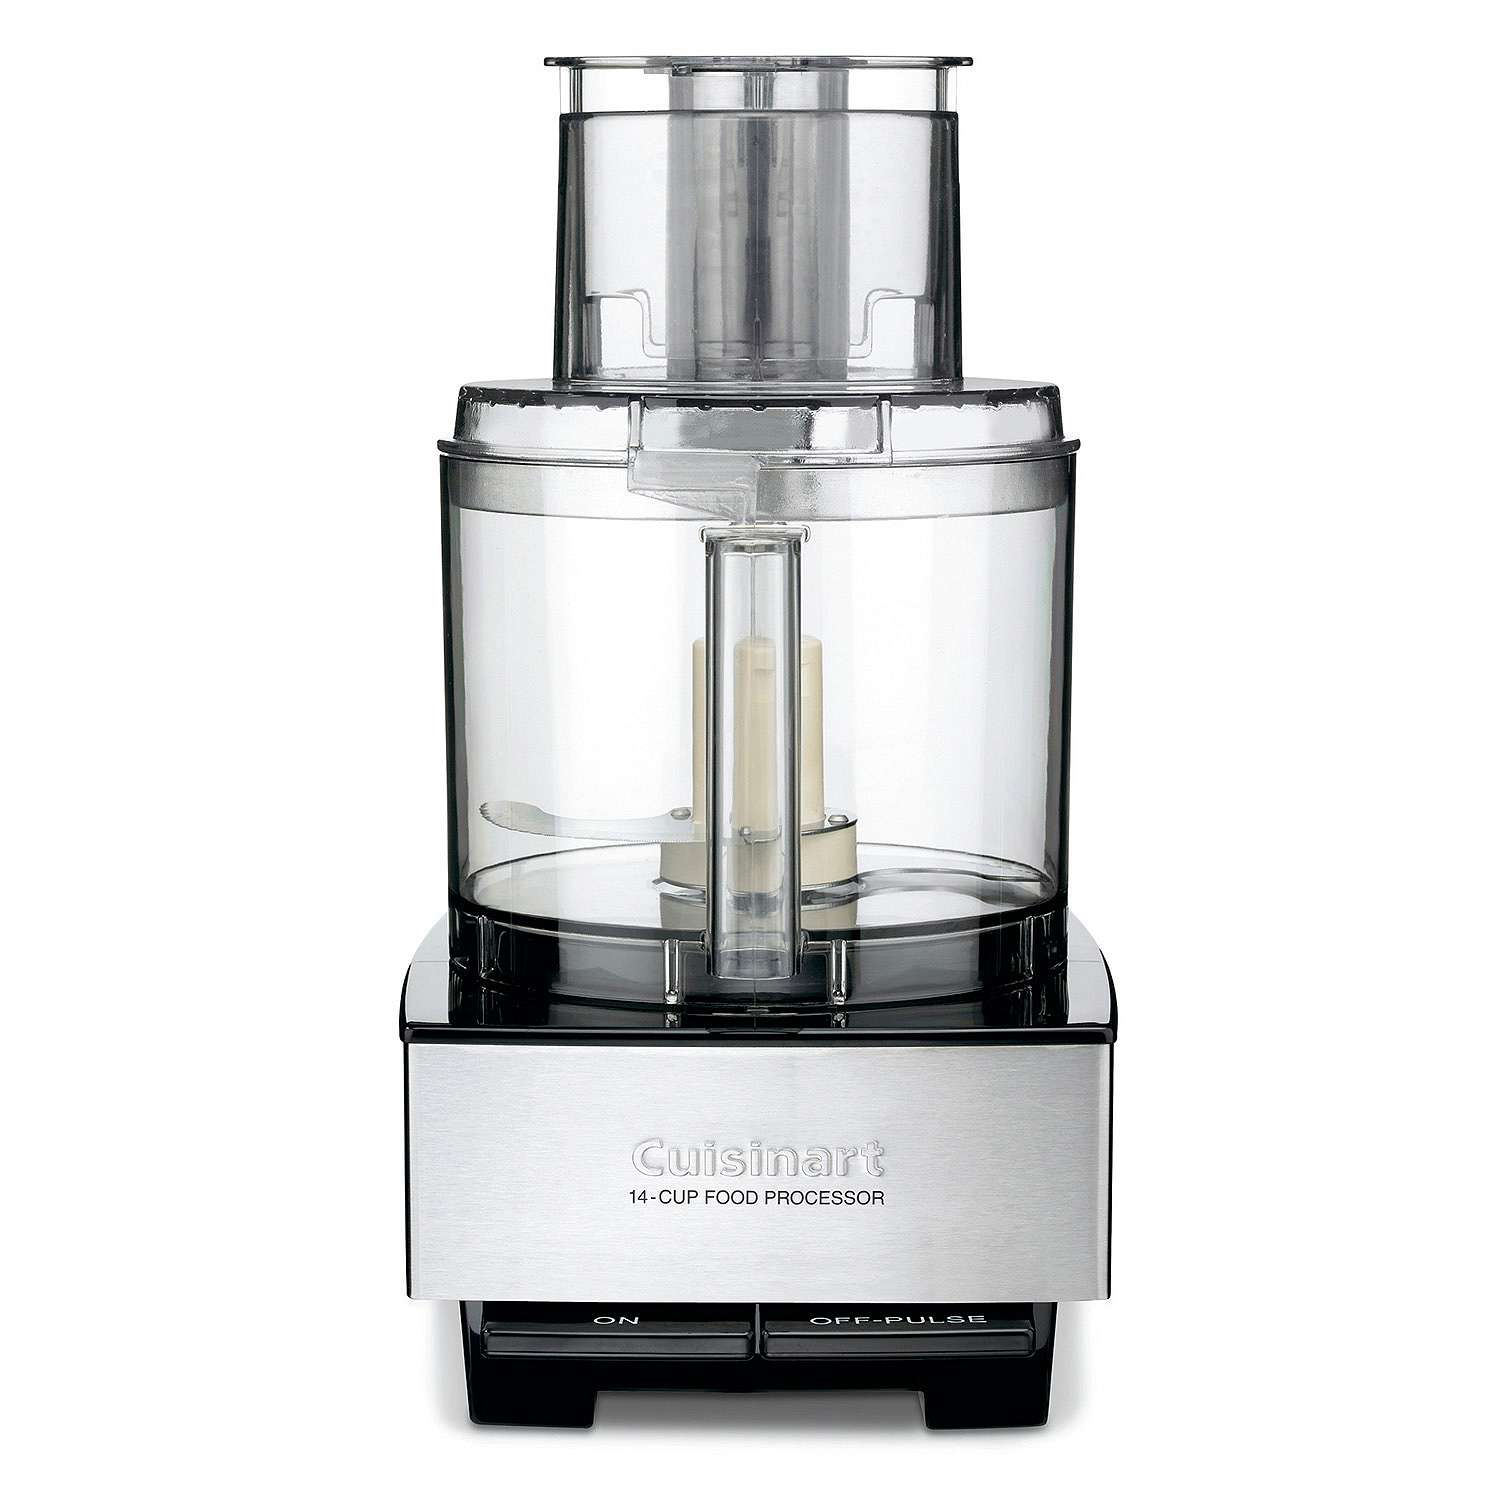
Equipment
 Buy Now →
 - Prep Time: 10 minutes
- Category: Dessert, Snack, Meal Prep
- Method: No Cook
- Cuisine: American
Nutrition
- Serving Size: 1 Bar
- Calories: 267
- Sugar: 21g
- Sodium: 110mg
- Fat: 16g
- Carbohydrates: 27g
- Fiber: 3g
- Protein: 7g
- Cholesterol: 0mg
Recipe Card powered by