When you use these links, we may earn a small commission at no extra cost to you—thanks for helping us keep things going!
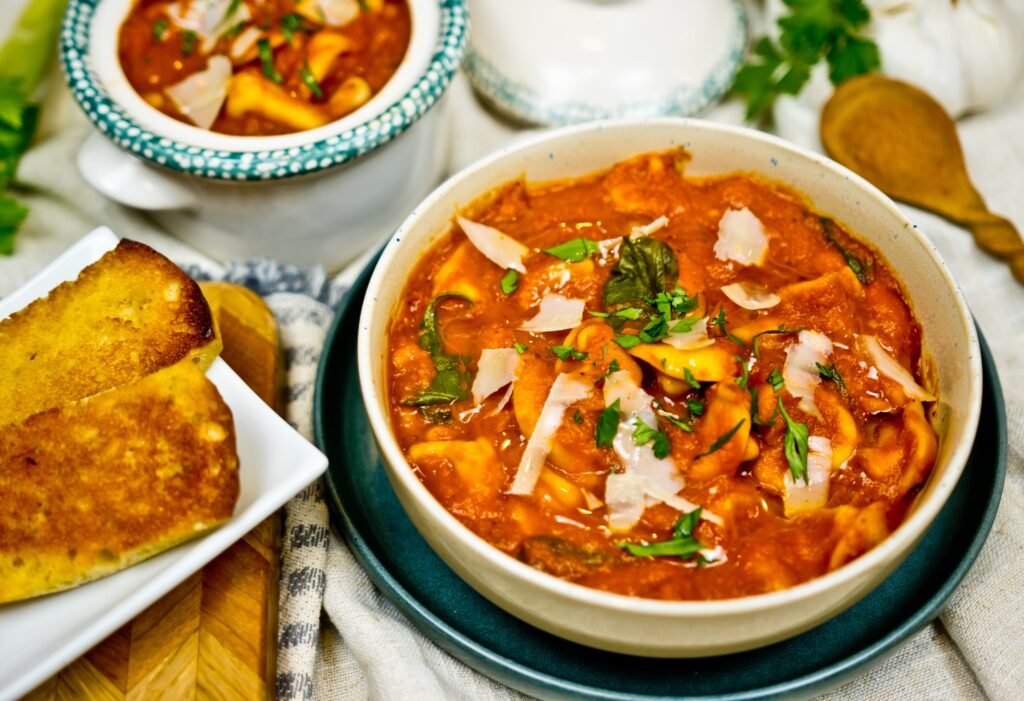
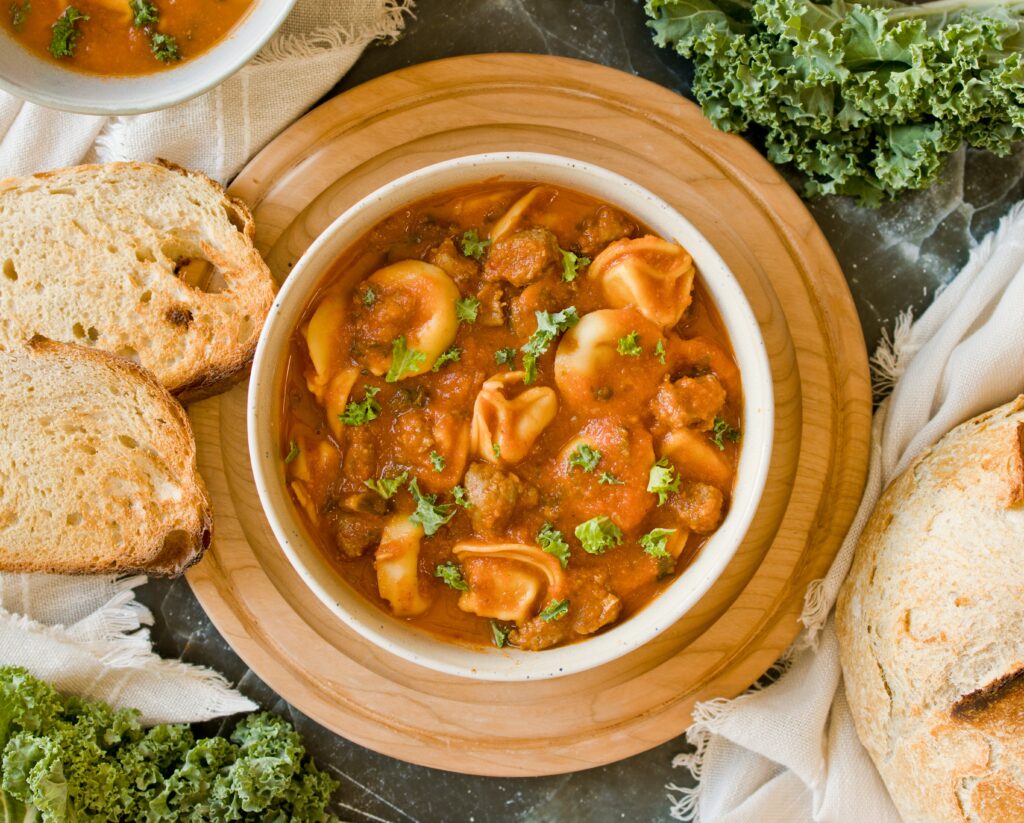
Italian Tomato Tortellini & Sausage Soup
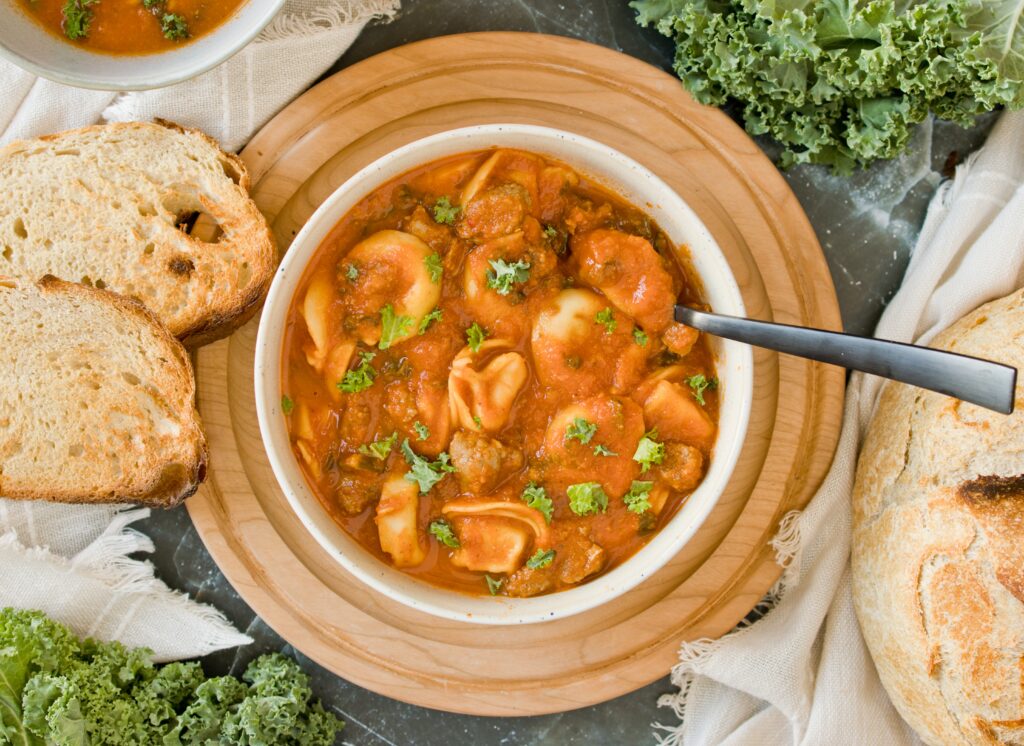

Italian Tomato Tortellini & Sausage Soup
- Total Time: 30 minutes
- Yield: 6 Servings 1x
Description
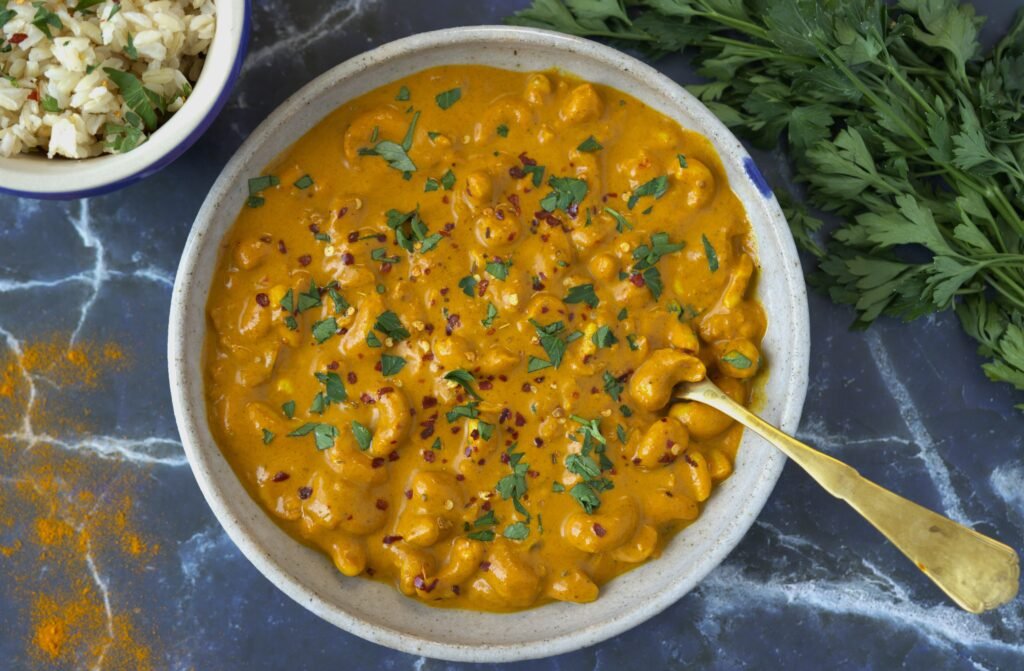
This nourishing, creamy tortellini soup gets its cozy texture from blended veggies and is loaded with Italian turkey sausage, kale, and cheese tortellini. It’s a veggie-packed, protein-rich, one-pot meal that’s comforting, satisfying, and perfect for busy weeknights or easy meal prep.
Ingredients
Units
Scale
- 2 Tbsp Olive Oil
- 16 oz Italian Turkey Sausage
- 1 Yellow Onion, small diced
- 2 Carrots, small diced
- 2 Celery Stalks, small diced
- 4 Cloves Garlic, minced
- 2 Tbsp Sundried Tomatoes, minced
- 1 tsp Oregano
- 1/2 tsp Kosher Salt
- 1/2 tsp Black Pepper
- 28 oz Crushed Tomatoes
- 7 cups Chicken Stock
- 2 cups Kale, finely chopped
- 10 oz Cheese Tortellini
- 1/4 tsp Crushed Red Pepper
- 1/4 cup Parmesan cheese (plus more for topping)
Instructions
- Heat the olive oil in a large pot or Dutch oven over medium heat.
- Add the Italian turkey sausage and cook, breaking it up with a spoon, until browned and cooked through. Transfer the sausage to a paper towel–lined plate and set aside.
- In the same pot, add the onion, carrots, and celery. Cook for 5–7 minutes, stirring occasionally, until softened.
- Add the garlic, sundried tomatoes, and oregano. Cook for about 30 seconds, until fragrant.
- Next, pour in the crushed tomatoes and chicken stock. Stir to combine, scraping the pan to get the good and brown bits! Then, add ½ teaspoon salt and ½ teaspoon black pepper and bring to a gentle boil.
- Reduce heat and simmer for 10–15 minutes to let the flavors come together.
- Using an immersion blender, carefully blend the soup until mostly smooth (or to your desired texture).
- Stir in the kale, cheese tortellini, crushed red pepper, and the cooked sausage. Simmer for 5–7 minutes, or until the tortellini is tender.
- Remove from heat and stir in the Parmesan cheese. Taste and adjust seasoning as needed.
- Serve warm, topped with extra Parmesan. Enjoy!

- Prep Time: 10
- Cook Time: 20
- Category: Soup
- Method: Stovetop
- Cuisine: Italian
Nutrition
- Serving Size: 1/6
- Calories: 427
- Sugar: 9g
- Sodium: 1212mg
- Fat: 14g
- Saturated Fat: 3.7g
- Carbohydrates: 50g
- Fiber: 5g
- Protein: 29g
Recipe Card powered by