Greek-Style Nachos

Greek-Style Nachos

Greek Nachos
Print
clock clock iconcutlery cutlery iconflag flag iconfolder folder iconinstagram instagram iconpinterest pinterest iconfacebook facebook iconprint print iconsquares squares iconheart heart iconheart solid heart solid icon
Greek Nachos

Greek-Style Nachos


5 Stars 4 Stars 3 Stars 2 Stars 1 Star

No reviews

  • Author: Amy RD, LDN
  • Total Time: 1 hr 50 mins
  • Yield: 6 servings 1x
  • Diet: Vegetarian

Description

Delicious Greek-Style Nachos with Chickpeas, Feta, Tomato & Olives


Ingredients

Scale

Chickpeas

  • 1 lb Dried Chickpeas (See notes for alternative options)
  • 1 tbsp Olive OIl
  • 1 Onion (medium)
  • 4 Garlic cloves
  • 2 tsp Paprika
  • 2 tsp Ground Cumin
  • 1/4 tsp Garam Masala (Optional)
  • 1/4 tsp Cayenne Pepper
  • 1/2 tsp Lemon Zest
  • 2 tsp Kosher Salt
  • 4 cups Vegetable Broth

Pita Chips

  • 2 Pita Bread
  • 2 tbsp Olive Oil
  • 1/2 tsp Kosher Salt

Veggie Salad

  • 1 Cucumber, peeled, seeded and chopped
  • 1 pt Cherry Tomatoes, sliced in half

Toppings

  • Greek Yogurt
  • Feta Cheese
  • Kalamata Olives
  • Hot Sauce (Optional)

Instructions

Chickpeas

  1. Sort and rinse your dried chickpeas. (If using canned skip this step.) Fill a large bowl with 6 cups water, pour chickpeas into bowl and soak overnight.
  2. Preheat oven to 375° F. Drain your soaked chickpeas, set aside.
  3. In a large dutch oven or large pot, heat 1 tbsp olive oil over medium heat. Add sliced onion to pan, sautee until slightly browned.
  4. Lower the heat to medium-low and add minced garlic and sautee for 1-2 minutes until fragrant.
  5. Add the spices, salt and lemon zest to garlic and onions and sautee for another 30 seconds.
  6. Add vegetable stock to pot and then the chickpeas (soaked or canned). Using a wooden spoon or spatula, stir mixture together and then bring to a boil. Then, turn the heat off and cover the pot with a lid.
  7. Next, put the dutch oven into your preheated oven and bake for 45 minutes to 1 1/2 hours, depending on the chickpeas you are using. (If you are using canned, it should take around 45 minutes for the chickpeas to soak up the yummy liquid. If you are using dry, soaked chickpeas it will take closer to an hour to an half and half for the beans to soak up the liquid.)
  8. Once the liquid has been absorbed by the chickpeas they are done. Remove from the oven and set aside.

Toppings:

  1. Slice your pita bread into triangles, drizzle 1 tbsp olive oil and 1/8 tsp salt over top and place onto a sheet tray (Skip this step if you bought pre-made pita chips!)
  2. Bake pita chips in the oven with your chickpeas for 8-10 minutes. Keep an eye on them as they burn easily!


Vegetable Topping:

  1. Slice 1 pint cherry tomatoes in half lengthwise. Peel, seed and chop cucumber to 1 inch chunks.
  2. Serve with Greek yogurt, feta cheese, kalamata olives and hot sauce as desired.


To Plate:

  1. Set pita chips on plate, top with dollops of Greek Yogurt, then the delicious braised chickpeas, cucumber and tomatoes, feta, kalamata olives and hot sauce. Enjoy!!


Notes

Notes:
  1. You can make this as simple or complicated as you’d like. Using canned chickpeas and store bought pita chips makes this a week-night winner!
  2. To substitute canned chickpeas use 4 cans, 15 oz each
  3. *This recipe was inspired by several Greek Nacho style recipes and including SmittenKitchen’s Braised Chickpeas.
  • Prep Time: 20min
  • Cook Time: 1 hr 30 mins
  • Category: Appetizers, Dinner, Lunch, Mediterranean, Salad, Sides
  • Method: Braise
  • Cuisine: Greek

Nutrition

  • Serving Size: 6
  • Calories: 541
  • Fat: 19g
  • Saturated Fat: 5g
  • Carbohydrates: 71g
  • Fiber: 15g
  • Protein: 27g
  • Cholesterol: 24mg
Recipe Card powered byTasty Recipes

Healthy Brownie Bites with Oat Flour, Cranberries and Chocolate Chips

Healthy Brownie Bites with Oat Flour, Cranberries and Chocolate Chips

Print
clock clock iconcutlery cutlery iconflag flag iconfolder folder iconinstagram instagram iconpinterest pinterest iconfacebook facebook iconprint print iconsquares squares iconheart heart iconheart solid heart solid icon

Healthy Brownie Bites with Oat Flour, Cranberries and Chocolate Chips


5 Stars 4 Stars 3 Stars 2 Stars 1 Star

No reviews

  • Author: Amy RD, LDN
  • Total Time: 20 minutes
  • Yield: 18 servings 1x

Description

Chocolaty, tasty and naturally sweetened, these brownie bites are fiber-filled treats!


Ingredients

Scale
  • 1 Cup Oat Flour or Old Fashioned Oats
  • 1/2 cup Cocoa Powder
  • 1/4 cup Vanilla Protein Powder
  • 1/2 tsp Kosher Salt
  • 1 tsp Baking Powder
  • 2 tbsp Ground Flax Seed
  • 1/4 cup Honey
  • 1/4 cup Maple Syrup
  • 1/2 cup Almond Butter
  • 1 Egg
  • 1/2 cup Dried Cranberries
  • 1/2 cup Chocolate Chips

Instructions

  1. Preheat your oven to 350° F
  2. Set a nonstick sheet tray out for baking. Or line a sheet tray with parchment paper or silpat. Set aside.
  3. In the bowl of a food processor, pulse 1 cup old fashioned oats until finely ground. Alternatively, if you purchased oat flour, skip this step.
  4. In a large mixing bowl add the oat flour, cocoa powder, protein powder, salt, baking powder and flax seed. Whisk to combine the dry ingredients.
  5. To the dry ingredients add the honey, maple syrup and almond butter. Using a spatula stir the batter together. It will be quite thick!
  6. *Tip, spray your measuring cup with nonstick spray before you measure the honey and it will slide out easily!
  7. Add the dried cranberries and chocolate chips to the batter. Stir to combine.
  8. Using a 1 1/2″ scoop, spoon batter onto sheet tray, leaving about 1″ between each brownie bite. The cookies will not spread very much. Continue until all the batter as been scooped onto your baking trays.
  9. Bake at 350° F for 8-9 minutes. Be sure not to overcook, you want them slightly soft and gooey.
  10. Let the brownie bites cool slightly and enjoy!
  • Prep Time: 10 minutes
  • Cook Time: 10 minutes
  • Category: Dessert, Snack
  • Method: Baking

Nutrition

  • Serving Size: 1
  • Calories: 167
  • Sugar: 14g
  • Sodium: 90mg
  • Fat: 7g
  • Saturated Fat: 2g
  • Trans Fat: 0g
  • Carbohydrates: 23g
  • Fiber: 3g
  • Protein: 5g
  • Cholesterol: 12mg
Recipe Card powered byTasty Recipes

Maple & Olive Oil Granola

Maple & Olive Oil Granola

Maple Olive Oil Granola
Print
clock clock iconcutlery cutlery iconflag flag iconfolder folder iconinstagram instagram iconpinterest pinterest iconfacebook facebook iconprint print iconsquares squares iconheart heart iconheart solid heart solid icon
Maple Olive Oil Granola

Maple & Olive Oil Granola


5 Stars 4 Stars 3 Stars 2 Stars 1 Star

No reviews

  • Author: Amy RD, LDN
  • Yield: 10 Servings 1x
  • Diet: Gluten Free

Description

Maple & Olive Oil Granola is an antioxidant fueled breakfast that goes great over Greek Yogurt or eaten plain as a snack.


Ingredients

Scale
  • 1/2 cup Olive Oil
  • 1/2 cup Maple Syrup
  • 1 tsp Vanilla Extract
  • 3 3/4 cups Old Fashioned Oats (Use 3 3/4 cups for more granola clusters, use 4 cups for “crumbly” granola)
  • 1/4 cup Flaxseed
  • 1 tsp Ground Cinnamon
  • 1/8 tsp Cardamom (Optional)
  • 1 1/2 cups Raw Nuts (I used Pecans and Sliced Almonds)
  • 1/4 tsp Kosher Salt
  • 1/4 cup Dried Cranberries (Or your favorite dried fruit)

Instructions

  1. Preheat oven to 325° F.
  2. To a large mixing bowl add the oats, nuts, cinnamon, cardamom (if using), and salt. Stir together with a spatula and set aside.
  3. In a liquid measuring cup add the olive oil and maple syrup. Mix together and then add the vanilla extract.
  4. Pour the liquid mixture over the oats mixture and stir together thoroughly with a spatula.
  5. Spread the granola mixture evenly onto a large sheet tray and bake for 25 minutes, stirring every 10 minutes.
  6. After 25 minutes remove the granola from the oven and add the dried cranberries. Mix together and then allow the granola to cool before serving.
  7. Tip: If you want your granola to have large clusters (which I do!) after you add the dried cranberries, press the granola down with the back of a spatula, then allow to cool fully.
  8. Serve over Greek Yogurt or enjoy plain as a snack!
 
  • Category: Breakfast, Snack, Gluten-Free, Vegetarian
  • Method: Bake

Nutrition

  • Serving Size: 1/10
  • Calories: 353
  • Sugar: 9g
  • Sodium: 61mg
  • Fat: 23g
  • Saturated Fat: 2g
  • Carbohydrates: 33g
  • Fiber: 5g
  • Protein: 7g
  • Cholesterol: 0mg
Recipe Card powered byTasty Recipes

Black Forest Butternut Squash Mac and Cheese

Black Forest Butternut Squash Mac and Cheese

Black Forest Butternut Squash Mac and Cheese
Print
clock clock iconcutlery cutlery iconflag flag iconfolder folder iconinstagram instagram iconpinterest pinterest iconfacebook facebook iconprint print iconsquares squares iconheart heart iconheart solid heart solid icon
Butternut Squash Mac and Cheese

Black Forest Butternut Squash Mac and Cheese


5 Stars 4 Stars 3 Stars 2 Stars 1 Star

5 from 1 review

  • Author: Amy RD, LDN
  • Total Time: 1 hour 20 minutes
  • Yield: 10 Servings 1x

Description

A take on butternut squash macaroni and cheese with farm fresh ingredients from the Black Forest market. Key ingredients from the market include butternut squash, Gouda cheese, cheddar cheese, sourdough breadcrumbs, mushrooms, and garlic along microgreens for garnish.


Ingredients

Scale
  • 1 Medium-Sized Butternut Squash
  • 2 Garlic Cloves
  • 2 tsp Kosher Salt
  • 1 1/2 tsp Ground Black Pepper
  • 2 tbsp Olive Oil
  • 1 cup Milk or Vegetable Stock
  • 4 oz Aged Gouda Cheese, Shredded
  • 8 oz Sharp Cheddar Cheese, Shredded
  • 8 oz Oyster Mushrooms (Optional)
  • 16 oz Pasta, Cavatappi
Breadcrumb Topping
  • 1 cup Sourdough Bread
  • 1 Garlic Clove
  • 1/4 cup Herbs (Parsley, Basil)
  • 1 tsp Olive Oil

Instructions

  1. Preheat oven to 400° F Line a large sheet tray with foil, set aside.
  2. Using a sharp knife, slice the butternut squash in half lengthwise. Be careful as the squash’s skin is quite tough! Using a spoon, scoop out the seeds and bit of flesh from the squash.
  3. Spread 1 tablespoon olive oil over the squash halves. Place 1 garlic clove in each squash. Add 1 tsp kosher salt and 1/2 tsp ground black pepper. Place sheet tray into the preheated oven and roast for 40-60 minutes, depending on the size of your butternut squash. You will know the squash is done when you can press it with a fork and it is soft.
  4. While the squash is roasting, cook your pasta. Fill a large pot with water and bring to a boil. Add 2 tsp salt to your water. Add your pasta and cook 1 minute under the recommended time. You want your pasta to be “al dente” and have a little bite to it. Drain the pasta and set the pot aside to use again.
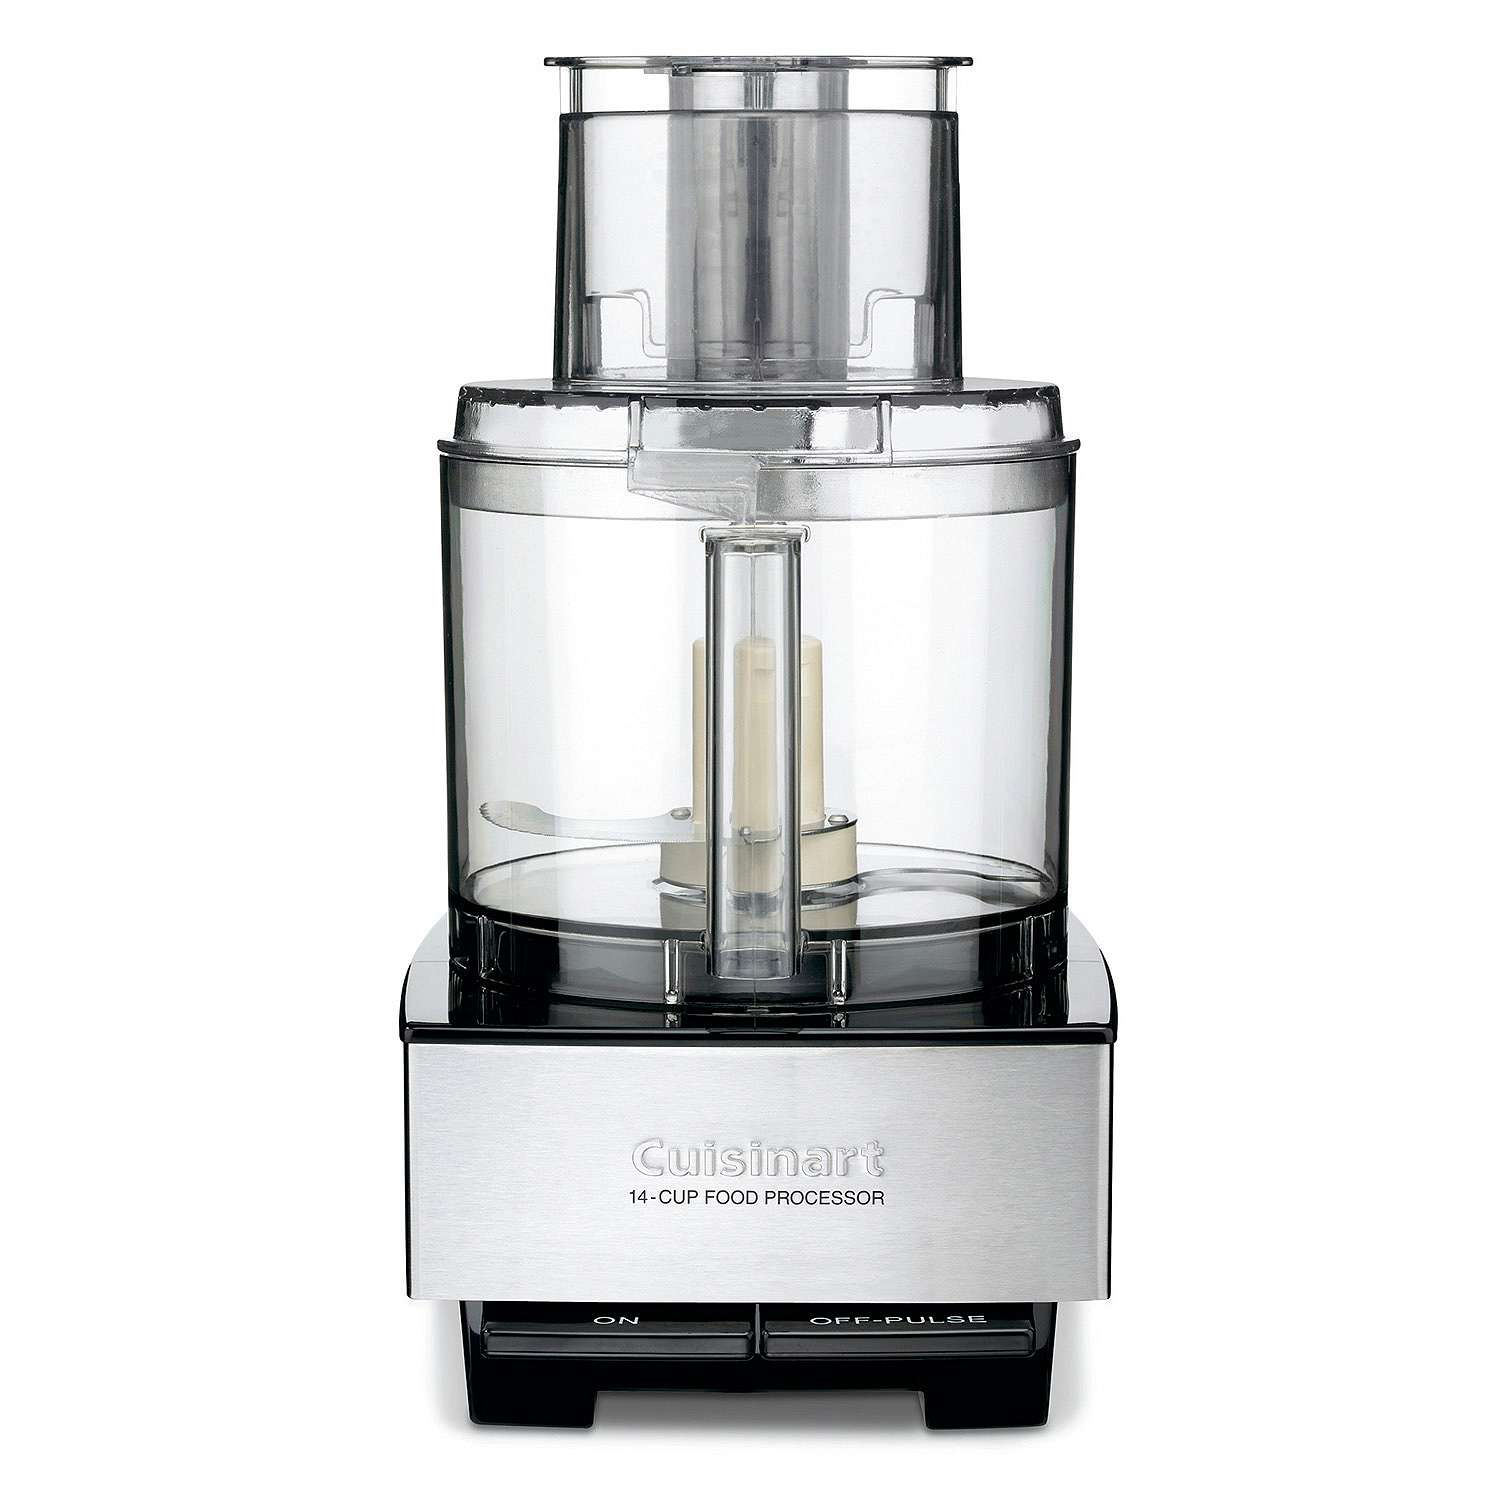
  5. Let the squash cool for at least 10 minutes. After 10 minutes scoop the flesh of the butternut squash out and place into the bowl of a food processor. Be sure to scoop all the flesh and the garlic!
  6. Add 1 cup of milk or stock to the food processor. Process the mixture until it is smooth and creamy.
  7. Place the pot you used for the pasta onto the stove and heat to low. Using a spatula spoon the butternut squash mixture into the pot. Add both the shredded Gouda and cheddar cheeses and the mushrooms (if using). Stir the cheeses into the butternut squash mixture until they are melted. At this point check your mixture for seasoning. Add additional salt and pepper to taste.
  8. Add the cooked pasta to your squash and cheese mixture. Mix thoroughly.
  9. Place pasta mixture into a 9×13 dish that has been coated with cooking spray.
  10. In a small bowl, mix together the breadcrumbs, herbs, minced garlic and olive oil. Spread mixture evenly over top of your mac and cheese.
  11. Bake for 25-30 minutes or until bubbly and golden brown on top. Allow to cool for 5 minutes, enjoy!
 
  • Prep Time: 5
  • Cook Time: 75
  • Category: Dinner, Sides, Holiday
  • Method: Bake

Nutrition

  • Serving Size: 1
  • Calories: 388
  • Sugar: 2g
  • Sodium: 1155mg
  • Fat: 17g
  • Saturated Fat: 7g
  • Unsaturated Fat: 4g
  • Carbohydrates: 21g
  • Fiber: 4g
  • Protein: 38g
  • Cholesterol: 36mg
Recipe Card powered byTasty Recipes

Waffled Veggie Latkes

Waffled Veggie Latkes

Waffled Veggie Latkes
Print
clock clock iconcutlery cutlery iconflag flag iconfolder folder iconinstagram instagram iconpinterest pinterest iconfacebook facebook iconprint print iconsquares squares iconheart heart iconheart solid heart solid icon
Waffled Veggie Latkes

Waffled Veggie Latkes


5 Stars 4 Stars 3 Stars 2 Stars 1 Star

No reviews

  • Author: Amy RD, LDN
  • Total Time: 35 minutes
  • Yield: 6 Servings 1x

Description

Waffled Veggie Latkes are a fun and nutritious twist on laktes and waffles. Add your favorite veggies, crisp them up in the waffle iron and top with scallions, Greek Yogurt or your favorite toppings.


Ingredients

Scale
  • 3 Carrots
  • 2 Zucchini (medium size)
  • 1 Orange or Red Bell Pepper
  • 1/2 Red or Yellow Onion
  • 4 Russet Potatoes (medium size)
  • 1/2 cup Flour
  • 1 tsp Baking Powder
  • 1 tsp Kosher Salt
  • 1/2 tsp Ground Black Pepper
  • 3 Eggs
Toppings
  • Cream Cheese
  • Greek Yogurt
  • Smoked Salmon
  • Scallions
  • Everything Bagel Seasoning

Instructions

  1. Shred those veggies! Spread a clean kitchen towel over your work surface. Using a box grater, grate the carrots, zucchini, potatoes and half onion right onto the towel.
  2. Finely dice the bell pepper and add to the veggies on the towel.
  3. Gather the towel with the shredded vegetables and move to a sink or bowl. Squeeze the towel with the veggies to remove as much liquid as possible.
  4. Place the shredded vegetables into a large mixing bowl. Add the 3 eggs and mix together. Next, add the 1/2 cup flour, baking powder, salt and pepper. Using a large spatula or spoon thoroughly stir the mixture.
  5. Heat a waffle iron to medium heat. Coat waffle iron with olive oil or spray with cooking spray. Place 1/2 cup of the mixture into the waffle iron. Cook for 4-5 minutes until golden brown. Tip: Keep the cooked Latkes in a 300° oven to stay warm and avoid getting soggy while the others cook.
  6. Top waffled veggies with your choice of toppings. Suggestions include, cream cheese, Greek yogurt, smoked salmon, scallions and everything bagel seasoning.
 
  • Prep Time: 15
  • Cook Time: 20
  • Category: Dinner, Lunch, Mediterranean

Nutrition

  • Serving Size: 1
  • Calories: 192
  • Sugar: 5g
  • Sodium: 452mg
  • Fat: 3g
  • Carbohydrates: 35g
  • Fiber: 4g
  • Protein: 8g
  • Cholesterol: 93mg
Recipe Card powered byTasty Recipes

No-Cook Pizza Sauce

No-Cook Pizza Sauce

No-Cook Pizza Sauce
Print
clock clock iconcutlery cutlery iconflag flag iconfolder folder iconinstagram instagram iconpinterest pinterest iconfacebook facebook iconprint print iconsquares squares iconheart heart iconheart solid heart solid icon
No-Cook Pizza Sauce

No-Cook Pizza Sauce


5 Stars 4 Stars 3 Stars 2 Stars 1 Star

No reviews

  • Author: Amy RD, LDN
  • Total Time: 5 minutes
  • Yield: 8 Servings 1x
  • Diet: Vegan

Description

Quick and easy, this no-cook pizza sauce is an easy addition to at-home pizza night!


Ingredients

Scale
  • 28 oz Whole Canned Tomatoes (no salt added)
  • 1 Garlic Clove
  • 1 tbsp Balsamic Vinegar (1-2 tablespoons)
  • 1 tbsp Olive Oil
  • 1/2 tsp Kosher Salt
  • 1/4 tsp Black Pepper

Instructions

  1. Using a can opener, open the canned tomatoes and drain off the liquid. Pour the tomatoes into a food processor or blender.
  2. To the food processor add the garlic clove, olive oil, balsamic vinegar, kosher salt and pepper and puree until smooth.
  3. Taste your sauce and adjust seasonings to your preference.
 
  • Prep Time: 5
  • Category: Dinner, Sauce, Lunch
  • Method: Food Processor
  • Cuisine: Italian

Nutrition

  • Serving Size: 1
  • Calories: 43
  • Sugar: 3g
  • Sodium: 169mg
  • Fat: 1.6g
  • Carbohydrates: 6g
  • Fiber: 1.8g
  • Protein: 1g
  • Cholesterol: 0mg
Recipe Card powered byTasty Recipes

Buddha Bowls

Buddha Bowls

Buddha Bowls
Print
clock clock iconcutlery cutlery iconflag flag iconfolder folder iconinstagram instagram iconpinterest pinterest iconfacebook facebook iconprint print iconsquares squares iconheart heart iconheart solid heart solid icon
Buddha Bowls

Buddha Bowls


5 Stars 4 Stars 3 Stars 2 Stars 1 Star

No reviews

  • Author: Amy RD, LDN
  • Total Time: 30 minutes
  • Yield: 6 Servings 1x
  • Diet: Vegetarian

Description

Buddha Bowls are a fun way to use up veggies or up your veggie intake, plus this recipe is Low FODMAP.


Ingredients

Scale
  • 2 cups Cooked Brown Rice
  • 1 Cucumber, peeled, seeded and diced
  • 2 Carrots, shredded
  • 1 cup Edamame (thawed if frozen)
  • 1 Red Bell Pepper, seeded and diced
  • 1 Can Salmon, drained
  • 1 Avocado, sliced
  • 8 oz Water Chestnuts, rinsed and drained
  • 5 tbsp Soy Sauce

Instructions

  1. Cook the rice according to package directions. Meanwhile, prep your vegetables as listed in the ingredients.
  2. Once the rice is cooked, assemble your bowls!
  3. Scoop 1/2 cup brown rice into a bowl, add toppings per your preference. Top dish with soy sauce, hoisin or Sriracha if that’s your thing!
 
  • Prep Time: 15
  • Cook Time: 15
  • Category: Dinner, Lunch, Low FODMAP
  • Cuisine: Asian

Nutrition

  • Serving Size: 1/6
  • Calories: 400
  • Sugar: 3.7g
  • Sodium: 244mg
  • Fat: 6g
  • Saturated Fat: 1g
  • Carbohydrates: 72g
  • Fiber: 7g
  • Protein: 14g
  • Cholesterol: 10mg
Recipe Card powered byTasty Recipes

Dietitian and Pharmacist Break Down the Newest Weight Loss Drugs

The realm of weight loss is a big business that includes everything from shakes and powders to supplements and bars. Within this mentality of a “quick-fix” for weight loss, weight-loss medications are ever popular. As the holidays are approaching many individuals become concerned with “staying on track” as sweets and treats become more abundant. Now the demand has turned to popular diabetes medications to help individuals quickly lose weight or keep it off through the holidays. Even Elon Musk credited Wegovy (as well as fasting) for his dramatic slim down, and celebrities are using Ozempic for quick weight loss before big events. So, what are these medications and are they an answer for weight loss? Let’s dig in.

What is Ozempic?

Ozempic (semaglutide) is a medication used to reduce A1C levels, in individuals with type 2 diabetes. It also works to reduce the risk of heart attack and stroke in these individuals. Semaglutide works by targeting GLP-1 receptors in the pancreas and brain. These receptors control the release of insulin and glucacon in the body. Semaglutide binds to these receptors to increase the amount of insulin released and decrease glucagon levels. This reduces the amount of sugar in the bloodstream. The medication also slows gastric emptying, which leads to a decreased food intake due to a feeling of fullness.

When Ozempic first came on the market, patient weight loss results were so significant the manufacturer started running trials on the drug with the outcome of treating obesity.

Wegovy, which uses the same medication (semaglutide) as Ozempic, was released by Novo Nordisk to treat obesity along with a reduced calorie diet and physical activity.

What is the difference between Wegovy and Ozempic?

The difference between Wegovy and Ozempic is the dosing. Lower doses are appropriate for the treatment of type 2 diabetes, while higher doses are typically used for weight loss. However, there have been some instances where Ozempic has been prescribed off label and used for weight loss. Several articles detail celebrities losing weight for events using Ozempic.

Both medications are once weekly injections. The pens must be kept in the fridge until first use. After first use, Ozempic pens can remain at room temperature for 56 days. Wegovy pens are single-use only and should be discarded after use.

Side effects to be aware of with this medication:

  • Diarrhea
  • Nausea
  • Constipation
  • Vomiting
  • Acute abdominal pain

New Trials for Weight Loss in Adolescents

New trials are now being conducted to test the appropriateness of this medication to combat obesity in teenagers. Approximately 17% of adolescents in the 10 to 17 age range are considered obese. This comes with serious health complications such as early onset hypertension, type 2 diabetes, high cholesterol, and joint problems. So far in trials, Wegovy has shown to be more effective for weight loss in obese teenagers than lifestyle interventions alone. More information is needed to understand the underlying cause of teenage obesity so targeted lifestyle interventions can be improved.

The Problem With Weight Loss Medications Alone

Many times weight loss medications are viewed as “quick-fix” options for extreme weight loss. The problem with this mentality is that this weight loss is not sustainable. Both Ozempic and Wegovy mention the drugs should be used in combination with “a reduced calorie meal plan and increased physical activity.”

A new study found that long-term 10% weight loss was achieved when the weight loss medication was used in conjunction with lifestyle interventions.

Also, depending on your individual health, wellness and goals, weight loss medications may not be right for you. Another study notes that, “In a head to head trial, lifestyle intervention was superior to pharmacotherapy in preventing type 2 diabetes in patients at high risk for the condition.”

It is also important to mention that one trial showed that weight loss slowed after stopping Wegovy , even with lifestyle intervention.  Further research is needed to determine an appropriate long-term plan for patients requiring Wegovy for weight loss.

Pharmacist Sam’s Tips:

  • Semaglutide should be used appropriately – Ozempic for diabetes, Wegovy for weight loss. This prevents strain on the manufacturer to keep up with high demand and improves accessibility to medication for diabetics.
  • Use these medications while working with a dietitian and pharmacist on lifestyle changes to improve long-term results.
  • Ask your pharmacist about how to properly store, inject, and discard your medication.
  • Know what to do if you miss a dose.
  • Common side effects should reduce over time, typically within the first month.

Amy RD’s Tips:

  • Always discuss medications with your doctor as well as your pharmacist for questions
  • Weight loss medications should be used in conjunction with lifestyle interventions, dietitians are experts in nutrition and lifestyle interventions
  • Find a dietitian that will work with you and your specific needs and goals
  • Remember that small changes can add up to big results, weight loss medications are not always the answer for long-term, sustainable weight-loss

References:

https://www.dailymail.co.uk/health/article-11236583/Celebrities-spending-1-500-month-diabetes-drug-incredible-weight-loss.html#:~:text=Celebrities%20are%20spending%20%241%2C500%20a%20month%20on%20diabetes,need%20it%20to%20manage%20their%20condition%20More%20items

Weight loss drug Wegovy helped teens with obesity lose weight (nbcnews.com)

https://pubmed.ncbi.nlm.nih.gov/33755728/