When you use these links, we may earn a small commission at no extra cost to you—thanks for helping us keep things going!
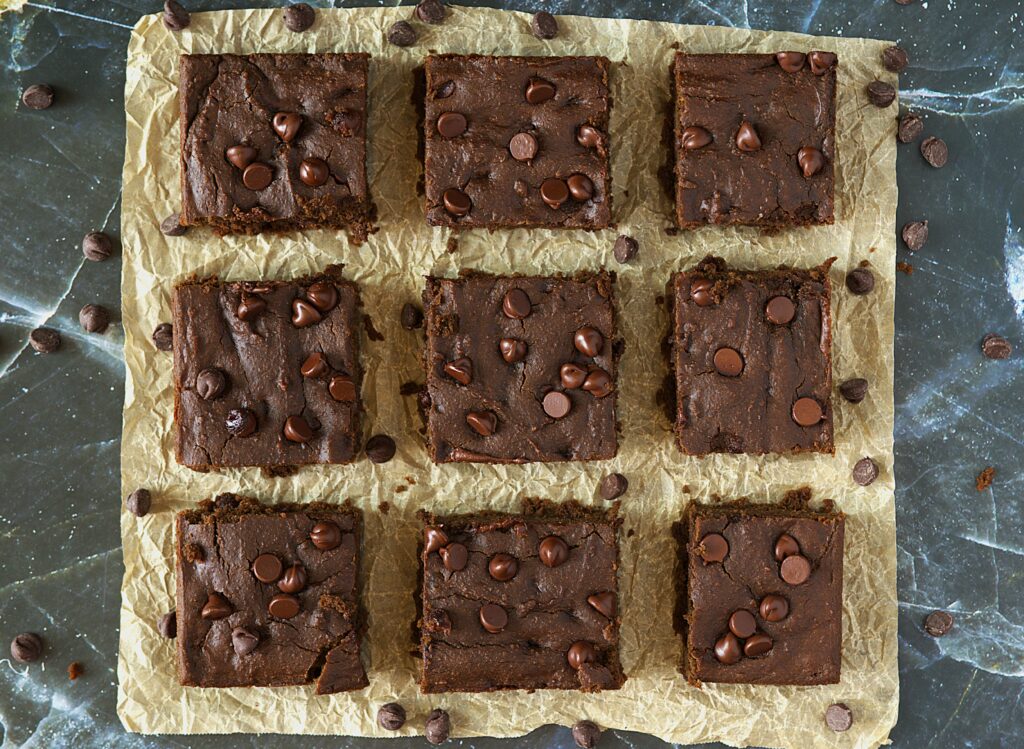
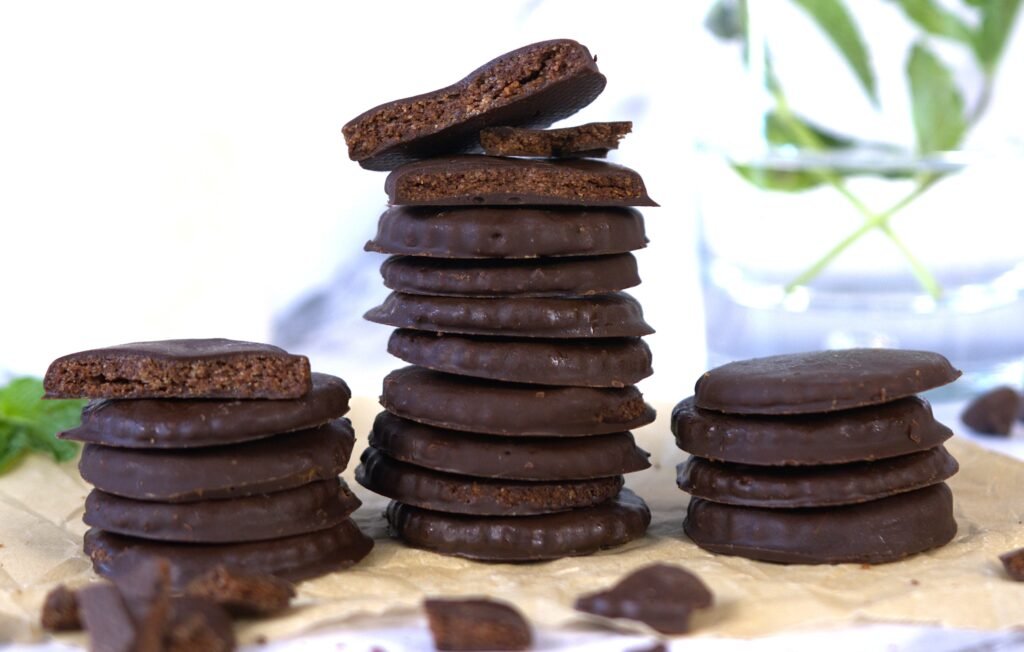
German Chocolate Cake Bars
German Chocolate Cake Bars
- Total Time: 15 minutes
- Yield: 16 Bars 1x
- Diet: Vegetarian
Description
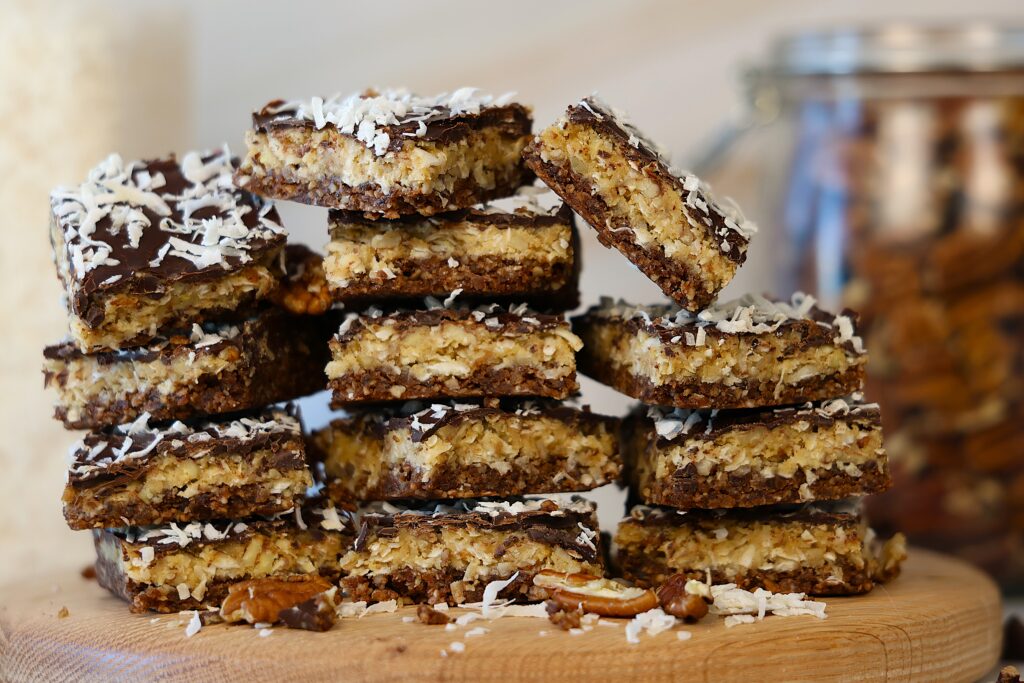
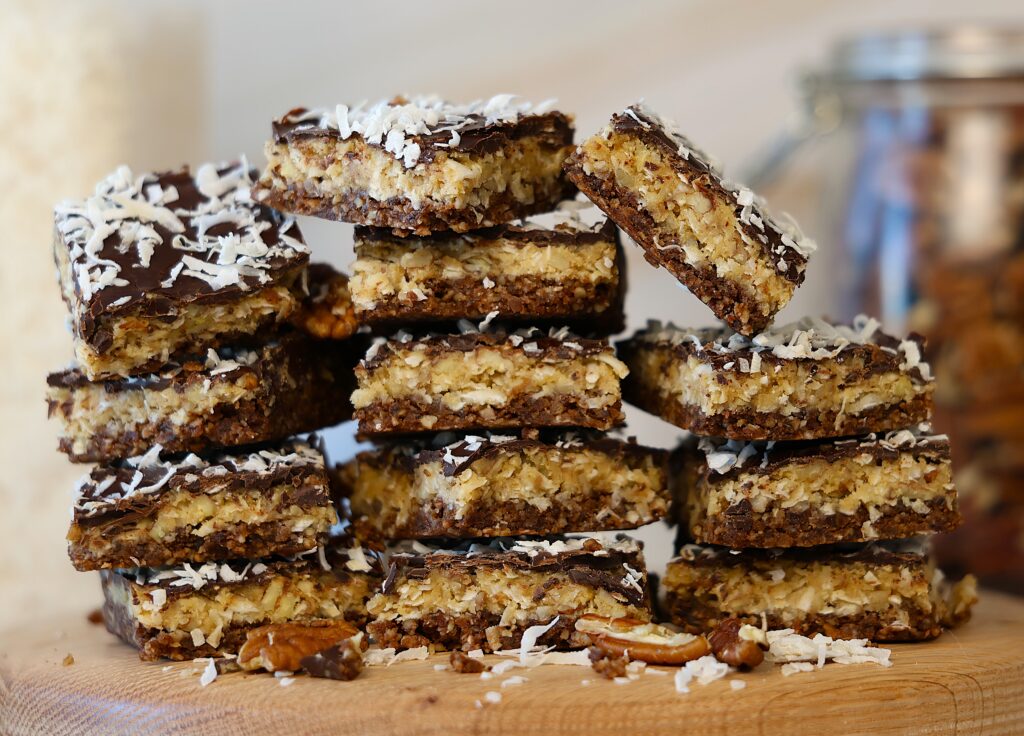
These no-bake German Chocolate Cake Bars have a rich chocolatey base, a coconut-pecan layer, and a simple dark chocolate topping. They’re so good, have all the classic German chocolate cake flavors, and are naturally sweetened with dates and maple syrup for a healthier take on a favorite.
Ingredients
Units
Scale
- 1 cup Pitted Dates
- 1 cup + 1/2 Pecans, Chopped
- 1 cup + 2/3 cup Unsweetened Shredded Coconut
- 1 + 1/2 tsp Vanilla Extract
- Pinch Salt
- 1/2 cup Cashew Butter
- 1/4 cup Maple Syrup
- 1/3 cup Dark Chocolate Chips
- 1/2 tsp Coconut Oil
Instructions
Chocolate Base Layer:
- Line an 8 x 8-inch pan with parchment paper, set aside.
- Place 1 cup pitted dates into a food processor. Process until the dates are broken down into small pieces
- Then, add the pecans 2/3 cup coconut, 1 tsp vanilla and pinch of salt.
- Process the mixture until it is combined and sticks together but still has some texture to it.
- Pour the mixture into your prepared pan and using a measuring cup or bottom of a cup, press the mixture firmly and evenly into the pan. Set aside while you make the “frosting” layer.
Coconut “Frosting” Layer
- In a medium sized bowl, combine 1 cup coconut, 1/2 cup chopped pecans, 1/2 cup cashew butter, 1/4 cup maple syrup and 1/2 tsp vanilla extract.
- Stir together with a spatula until well combined.
- Then, spread the mixture evenly over the chocolate base layer, pressing with your spatula as needed.
Chocolate Topping
- In a small, microwave-safe bowl, add the 1/3 cup dark chocolate chips and 1/2 tsp coconut oil.
- Microwave on 25 second intervals, stirring in between each one, until the chocolate is melted.
- Next, pour the melted chocolate over top of the coconut layer and spread evenly with a spatula.
- Top with an extra tablespoon of coconut to make them extra pretty!
Chill and Serve
- Refrigerate the bars for at least 1-2 hours until firm.
- Cut into 16 bars and enjoy!
Equipment
 Buy Now →
 Notes
- Keep them in the refrigerator—they’ll last 4–5 days if they don’t get eaten first!
- Prep Time: 15 minutes
- Category: Bar, Dessert, Gluten-Free, Snack
- Method: No Bake, No Cook, No-Cook
- Cuisine: American
Nutrition
- Serving Size: 1 Bar
- Calories: 195
- Sugar: 6.5g
- Sodium: 37mg
- Fat: 17g
- Saturated Fat: 6.3g
- Carbohydrates: 11g
- Fiber: 2.5g
- Protein: 2.6g
- Cholesterol: 0.81mg
Recipe Card powered by