How to Use Your HSA/FSA Card for Nutrtion Counseling

Using your FSA or HSA for nutrition services is a smart way to invest in your health while saving money. These accounts can help cover things like nutrition counseling, meal planning, and other services that support your wellness goals. In this post, I’ll break down how to use your FSA or HSA for nutrition care and why it’s such a great option. Let’s make prioritizing your health easier and more affordable!

What are HSA/FSA?

Let’s quickly breakdown what exactly HSA and FSA accounts are.

Health Savings Account (HSA): An HSA is a tax-advantaged savings account designed to help you pay for qualified medical expenses. Contributions are tax-deductible, and withdrawals for eligible expenses are tax-free, making it a great tool for managing healthcare costs.

Flexible Spending Account (FSA): An FSA is a pre-tax benefit account that lets you set aside funds for qualified medical expenses. Unlike an HSA, FSAs are often provided through employers and may come with a “use-it-or-lose-it” policy, so it’s important to plan your spending wisely.

Both accounts can be used to pay for a wide range of health-related expenses, including nutrition counseling.

Step-by-Step Guide to Using Your HSA/FSA with Thrive Nutrition RDN

1. Verify Your Eligibility

  • Before getting started, confirm that nutrition counseling qualifies as an eligible expense under your HSA or FSA plan. While counseling provided by a licensed dietitian or nutritionist is typically covered, it’s always wise to check with your plan provider to understand the specific requirements and coverage details.

2. Obtain a Letter of Medical Necessity from a Healthcare Provider

  • A Letter of Medical Necessity (LMN) is a document written by a healthcare provider that explains the medical need for a specific treatment or service. For nutrition counseling, it highlights why the service is essential for your health and how it supports your treatment plan. This document typically includes:

    • Relevant diagnosis or medical condition(s)
    • How nutrition counseling will address your condition
    • The expected duration and frequency of counseling
    • The credentials of the dietitian or nutritionist providing the service

3. Book Your Free Discovery Call

4. Pay with your HSA/FSA Card

  • Paying with your HSA/FSA card is simple through our booking and payment portal, Healthie. Just enter your card details as you would with any credit card, and the payment will be processed directly through your account—streamlined and stress-free!

5. Keep Your Receipts

    • With each payment, you’ll receive a copy of your invoice—be sure to save it! This documentation is important for your records and can be submitted to your HSA/FSA administrator along with your Letter of Medical Necessity, if required for reimbursement or verification.

Why Choose Thrive Nutrition RDN?

At Thrive Nutrition RDN, I’m here to help you find freedom with food while working toward your unique health goals. Forget the strict rules and one-size-fits-all plans—together, we’ll create a personalized approach that fits your life and helps you feel your best. Plus, using your HSA/FSA funds makes it even easier to invest in yourself and take advantage of the benefits you already have!

Ready to Thrive?

Book your free 15-minute discovery call to get started! During the call, we can discuss your goals, answer any questions, and explore how Thrive Nutrition RDN can support you on your journey to better health.

Facebook
Twitter
LinkedIn
Email
Pinterest

Pumpkin Roll Out Cookies

Pumpkin Roll Out Cookies


Print

clock clock iconcutlery cutlery iconflag flag iconfolder folder iconinstagram instagram iconpinterest pinterest iconfacebook facebook iconprint print iconsquares squares iconheart heart iconheart solid heart solid icon

Pumpkin Roll Out Cookies


5 Stars 4 Stars 3 Stars 2 Stars 1 Star

No reviews


  • Author:
    Amy MS, RD, LDN


  • Total Time:
    42 minutes


  • Yield:
    24 Cookies 1x


  • Diet:
    Vegetarian


Description

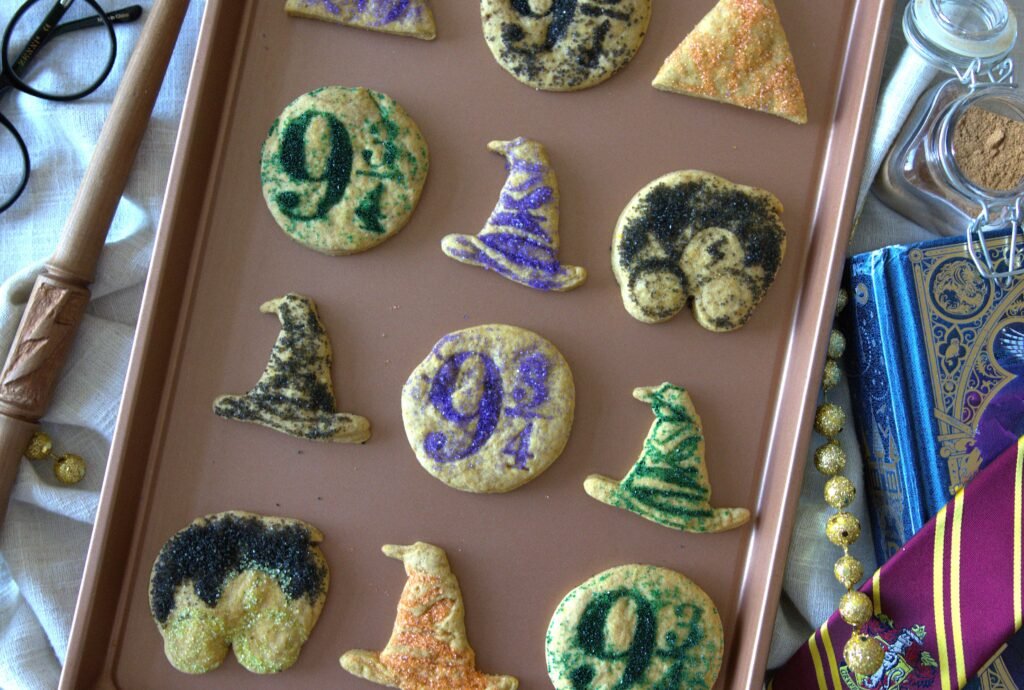
Soft, spiced, and perfectly festive, these pumpkin roll-out cookies are a family favorite! Easy to cut into fun shapes and topped with a sprinkles for even more fun, they’re perfect for holiday baking or a cozy weekend treat.


Ingredients


Units


Scale

  • 1/2 cup Unsalted Butter, softened
  • 1/2 cup Maple Syrup
  • 1/4 cup Brown Sugar
  • 1/2 cup Pumpkin Puree
  • 1 tsp Vanilla Extract
  • 1 cup White Whole Wheat Flour
  • 1 1/4 cup All Purpose Flour
  • 3/4 tsp Baking Powder
  • 2 1/2 tsp Pumpkin Pie Spice
  • 1/4 tsp Kosher Salt


Instructions

  1. In a medium sized mixing bowl, add the flours, baking powder, pumpkin pie spice and salt. Whisk together and set aside.
  2. In the bowl of a stand mixer, add the wet ingredients: butter, maple syrup, brown sugar, pumpkin puree and vanilla extract. Mix on low, then increase the speed to medium and cream together the ingredients until light and fluffy.
  3. Next, turn the mixer to low and slowly add the dry ingredients. Mix until the dough comes together.
  4. Cover the dough with plastic wrap and refrigerate for at least 30 minutes.
  5. Preheat your oven to 350 F.
  6. Roll the dough out to about 1/4 inch thick. Using your cookie cutters, cut the cookies into your favorite shapes. (Top with sprinkles to jazz them up if you’d like!)
  7. Place the cookies onto a silpat lined sheet tray.
  8. Bake for 12-15 minutes until the cookies are set.
  9. Remove from the oven and allow to cool on a wire rack. Enjoy!

  • Prep Time: 30 minutes
  • Cook Time: 12
  • Category: Dessert
  • Method: Bake
  • Cuisine: American

Nutrition

  • Serving Size: 1 Cookie
  • Calories: 104
  • Sugar: 6g
  • Sodium: 48mg
  • Fat: 4g
  • Carbohydrates: 16g
  • Fiber: 1g
  • Protein: 1g
  • Cholesterol: 10mg

Recipe Card powered byTasty Recipes

Peppermint Hot Chocolate

Peppermint Hot Chocolate

Print
clock clock iconcutlery cutlery iconflag flag iconfolder folder iconinstagram instagram iconpinterest pinterest iconfacebook facebook iconprint print iconsquares squares iconheart heart iconheart solid heart solid icon

Peppermint Hot Chocolate


5 Stars 4 Stars 3 Stars 2 Stars 1 Star

No reviews

  • Author: Amy MS, RD, LDN
  • Total Time: 7 minutes
  • Yield: 2 Servings 1x
  • Diet: Vegan

Description

Peppermint Hot Chocolate is the perfect cozy drink on a winter day. Dairy-free & naturally-sweetened.


Ingredients

Units Scale
  • 2 cups Unsweetened Soy Milk
  • 4 Pitted Dates
  • 2 tbsp Cocoa Powder
  • 2 tbsp Maple Syrup
  • 1/2 tsp Vanilla Extract
  • 1/8 tsp Peppermint Extract
  • Crushed Candy cane or marshmallows, optional for serving

Instructions

  1. Place the soy milk into a microwave safe container. Microwave for 1-2 minutes to heat it up.
  2. Pour the warm milk into a blender, then add the remaining ingredients to the blender.
  3. Blend on high for 1 minute until the mixture is smooth.
  4. Pour into two mugs and top with crushed candy canes, enjoy!
  • Prep Time: 5 minutes
  • Cook Time: 2
  • Category: Drink
  • Method: Blender
  • Cuisine: American

Nutrition

  • Serving Size: 1
  • Calories: 143
  • Sugar: 23g
  • Sodium: 13mg
  • Fat: 2g
  • Carbohydrates: 30g
  • Fiber: 4g
  • Protein: 5g
  • Cholesterol: 0mg
Recipe Card powered byTasty Recipes

Festive Chocolate Bark

Festive Chocolate Bark

Festive Chocolate Bark
Print
clock clock iconcutlery cutlery iconflag flag iconfolder folder iconinstagram instagram iconpinterest pinterest iconfacebook facebook iconprint print iconsquares squares iconheart heart iconheart solid heart solid icon
Festive Chocolate Bark

Festive Chocolate Bark


5 Stars 4 Stars 3 Stars 2 Stars 1 Star

No reviews

  • Author: Amy MS, RD, LDN
  • Total Time: 10 minutes
  • Yield: 25 pieces 1x

Description

This chocolate bark is loaded with crunchy nuts and sweet dried fruit, it’s the perfect mix of sweet, salty, and satisfying. Easy to make, totally customizable, and a hit at any holiday gathering—or just for you with a cozy cup of cocoa.


Ingredients

Units Scale
  • 12 oz Chocolate Chips (choose your favorite, dark, semi-sweet or milk chocolate)
  • 3/4 cup Nuts and/or Seeds (I like cashews, pistachios, slivered almonds, pepitas)
  • 1/4 cup Dried Cranberries or Cherries
  • 1/4 cup Unsweetened Shredded Coconut
  • Pinch Flaky Sea Salt

Instructions

  1. Cover a large sheet tray with a silpat or parchment paper, set aside.
  2. Melt the chocolate in a microwave safe bowl, on 30-second intervals, stirring in between each one. (You can also melt the chocolate in a heat-proof bowl over a saucepan of simmering water.)
  3. Using a rubber spatula, pour the chocolate onto the center of the tray and spread it out evenly until it is about 1/4″ thick. It will likely not reach the edges of your sheet tray.
  4. Sprinkle your toppings over top, the nuts/seeds, dried fruit, coconut and finally sea salt. Give the toppings a little press into the chocolate with the palms of your hands or back of a spatula.
  5. Place the sheet tray into the fridge so that the chocolate can set for 15 minutes.
  6. Once the chocolate has hardened, use your hands to break it into pieces. Enjoy!
  • Prep Time: 10 minutes
  • Category: Dessert, Holiday
  • Method: No Bake
  • Cuisine: American

Nutrition

  • Serving Size: 1 piece
  • Calories: 104
  • Sugar: 9g
  • Sodium: 11mg
  • Fat: 7g
  • Carbohydrates: 11g
  • Fiber: 2g
  • Protein: 2g
  • Cholesterol: 5mg
Recipe Card powered byTasty Recipes