When you use these links, we may earn a small commission at no extra cost to you—thanks for helping us keep things going!
The BEST Vegetarian Crunchwrap Supreme
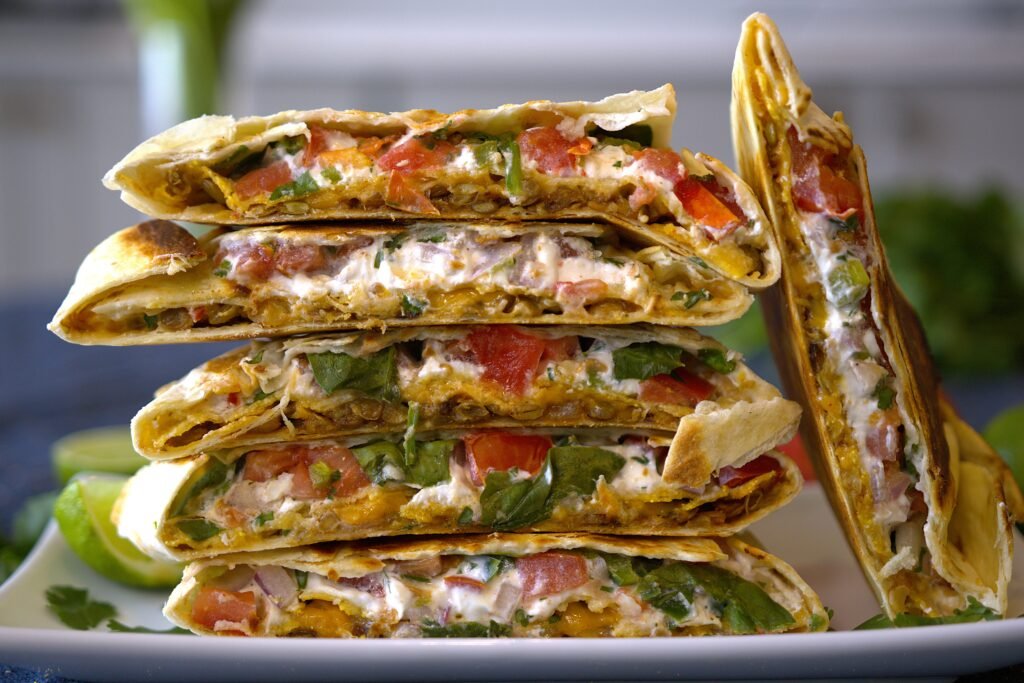
I’m so pumped to share this recipe with you—it’s seriously so good! This vegetarian version of the Crunchwrap Supreme from Taco Bell will have you hooked. We’re talking layers of seasoned lentils, melty cheese, fresh pico de gallo, spinach, and crispy tortillas—basically all the flavor and texture you could ever want!
Assembly Instructions
The first step is to make the lentil filling, the Pico de Gallo and then get out all of the Crunchwrap components!
Here’s the order I layered my ingredients:
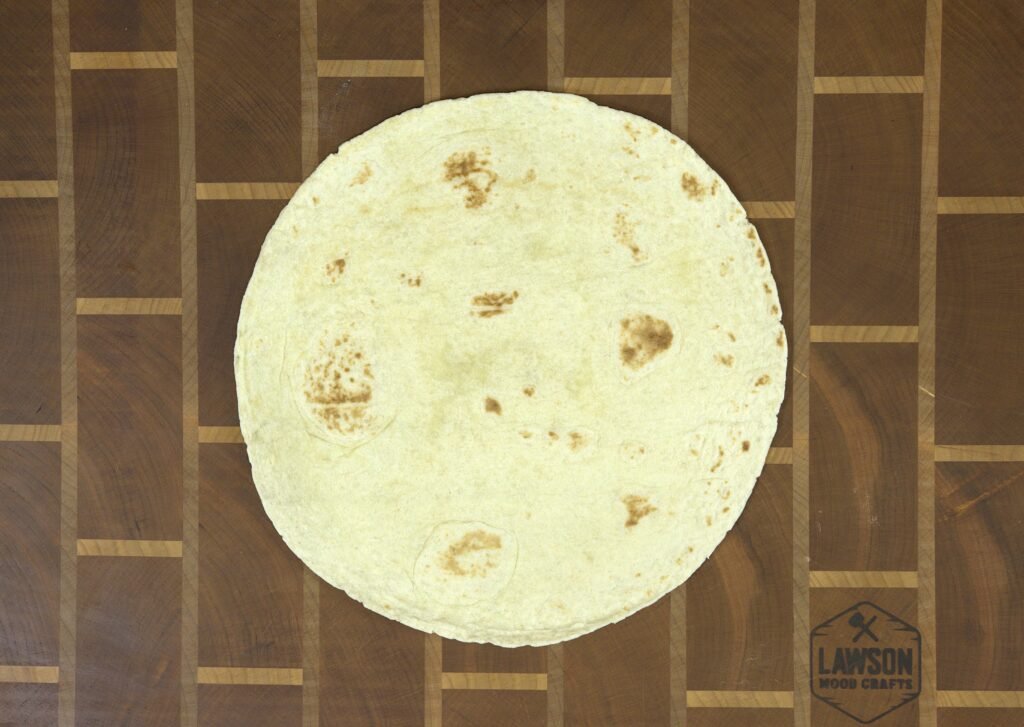
- Large Flour Tortilla
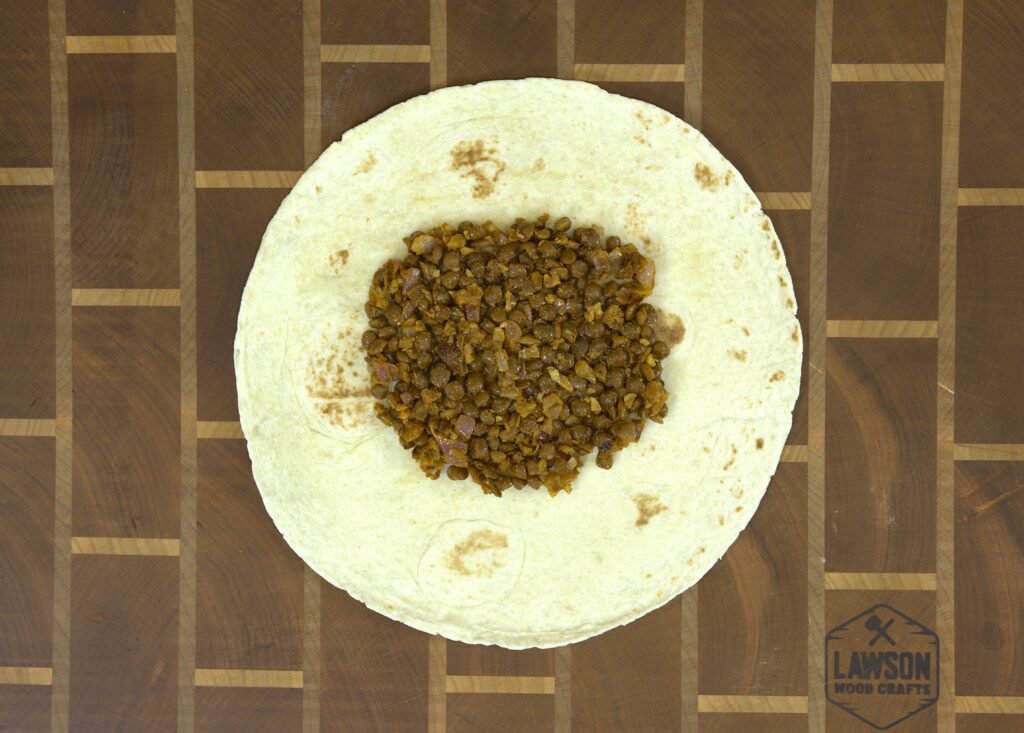
- Lentil Filling
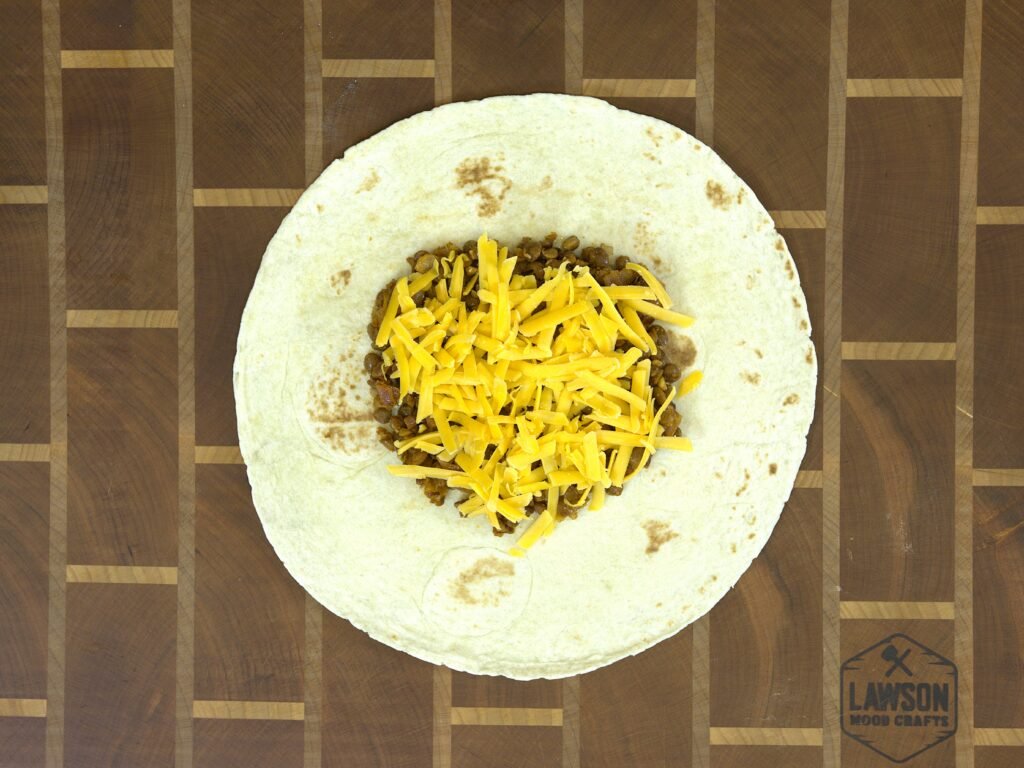
- Cheddar Cheese
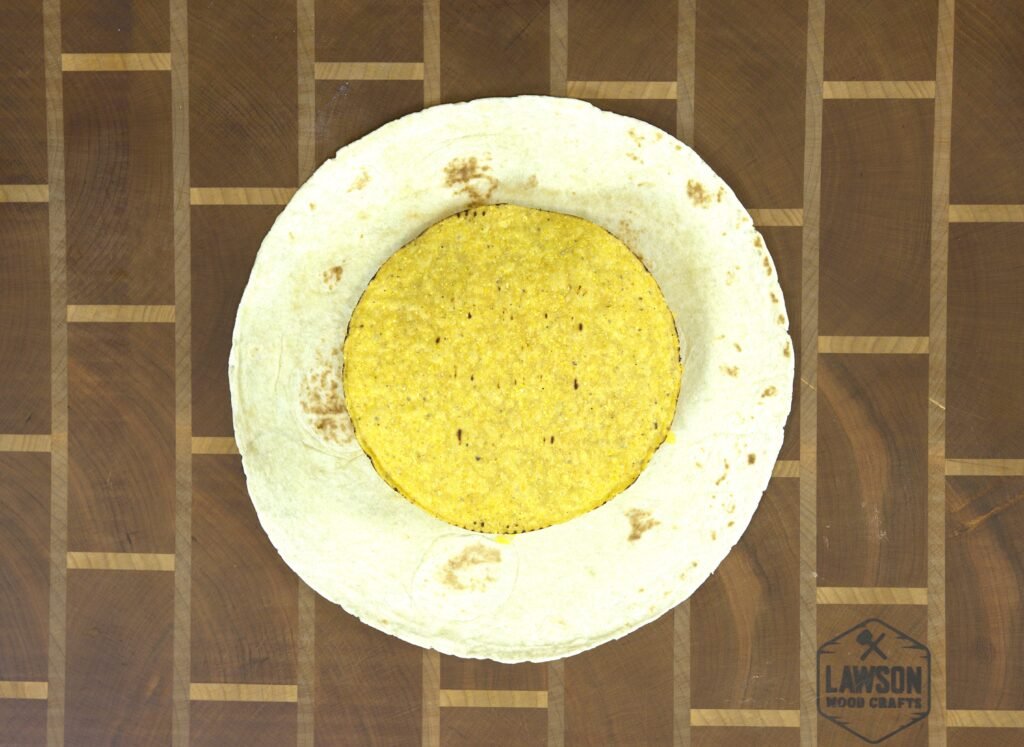
- Tostada
- Greek Yogurt
- Pico de Gallo
- Spinach
- Extra Tortilla Quarter
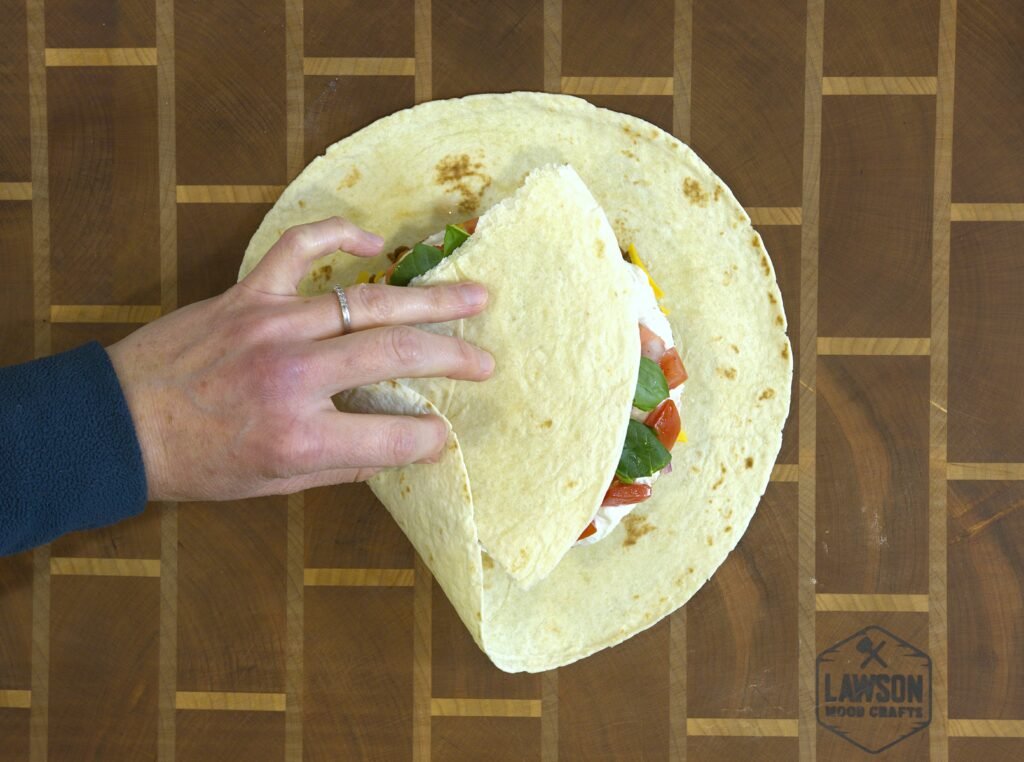
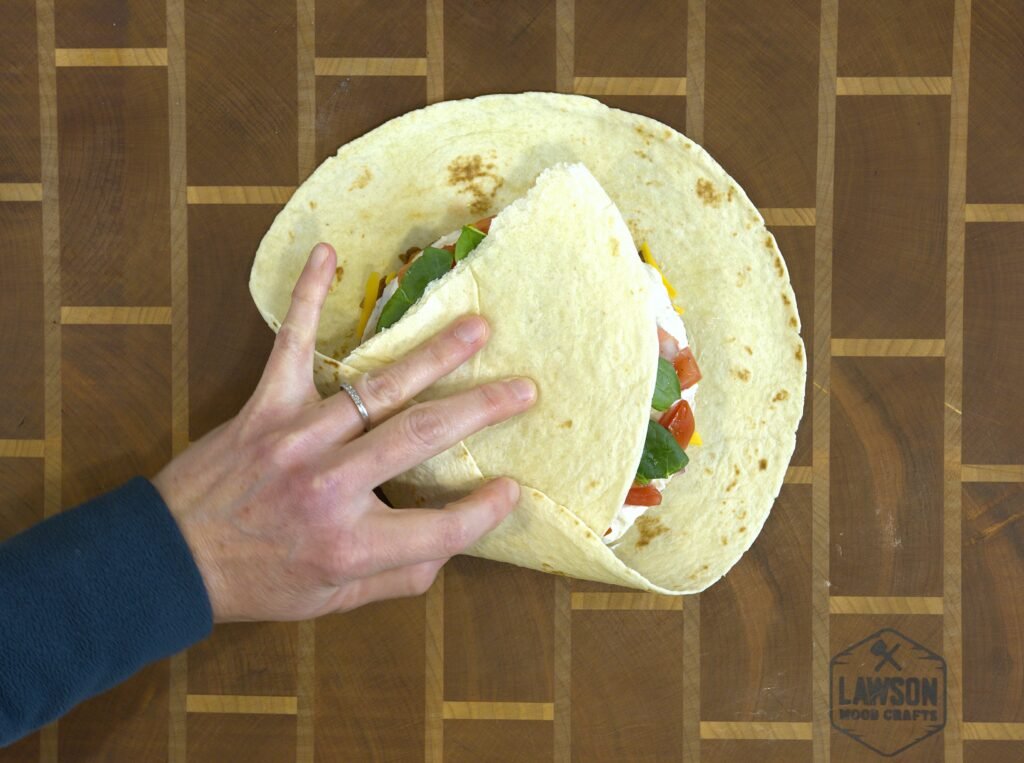
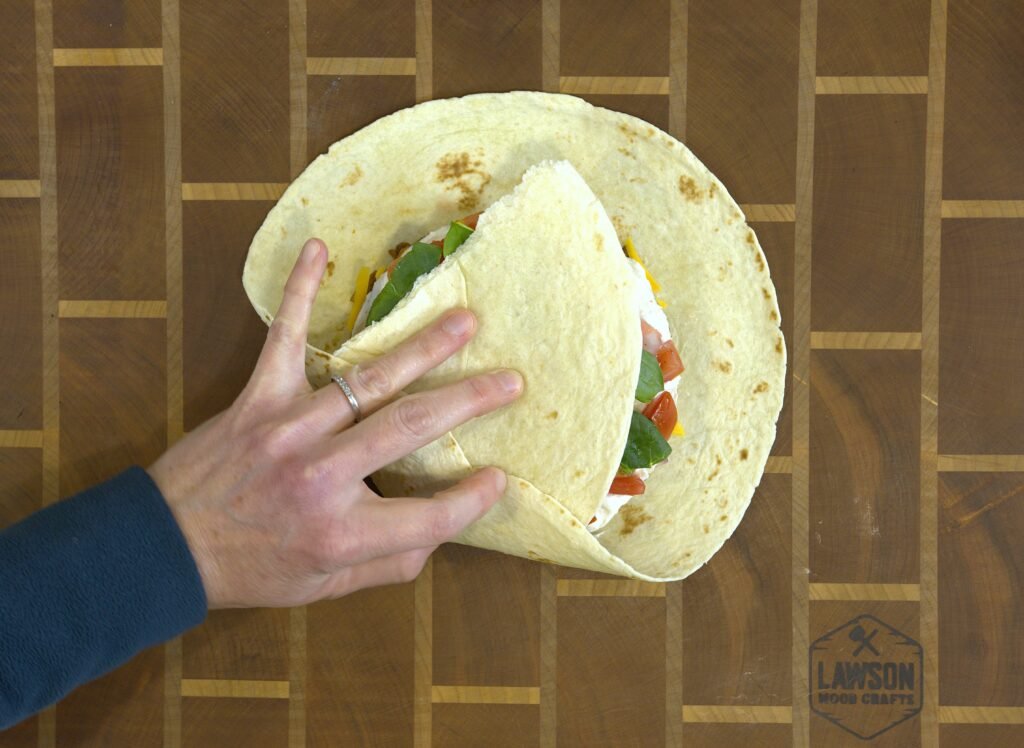
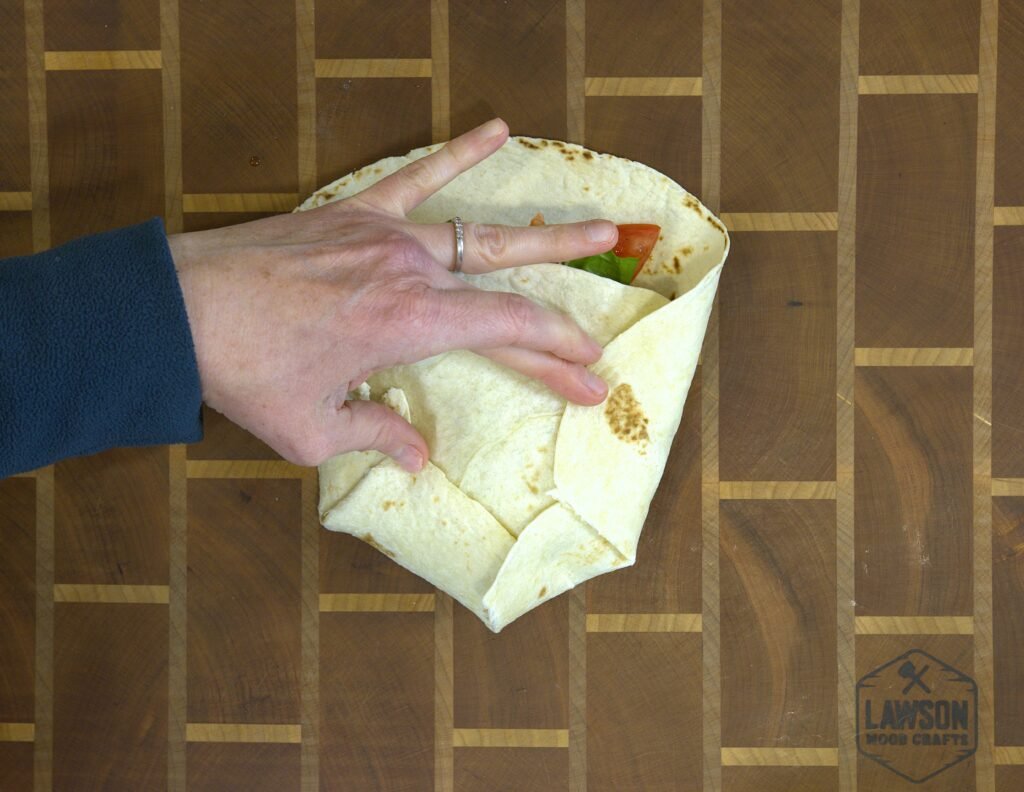
Here’s the step-by-step visual to help you assemble your Vegetarian Crunchwrap Supreme:
Next, a step-by-step guide on folding the Crunchwrap!

The BEST Vegetarian Crunchwrap Supreme
- Total Time: 35 minutes
- Yield: 8 Crunchwraps 1x
- Diet: Vegetarian
Description
Just like the Crunchwrap Supreme from Taco Bell, but vegetarian! Packed with layers of seasoned lentils, melty cheese, fresh pico de gallo, spinach and crispy tortillas, this Vegetarian Crunchwrap Supreme brings all the flavor and texture you crave. It’s the most delicious, satisfying twist on a classic you’ll ever taste—trust me, you’ll want this in your weekly rotation!
Ingredients
Lentil Filling:
- 1 can, 14 oz, Canned Lentils, drained and rinsed
- 1/4 cup Walnuts
- 1/2 Red Onion, finely diced
- 2 Cloves Garlic, minced
- 1 tsp Chili Powder
- 1 tsp Cumin
- 1/2 tsp Smoked Paprika
- 1/2 tsp Salt
- 1/4 tsp Garlic Powder
- 1/4 tsp Onion Powder
- 1/4 tsp Ground Black Pepper
- 1 tsp Nutritional Yeast (optional but adds killer umami!)
Pico de Gallo:
- 3–4 Roma Tomatoes, diced
- 1/2 Medium Red Onion, finely diced
- 1 Jalapeno, seeded and minced
- 1 Lime, Juiced
- 1/8 tsp Kosher or Sea Salt
- Pinch Black Pepper
- 1/4 cup Parsley, chopped
Additional Toppings:
- 1 cup Cheddar Cheese, grated
- Baby Spinach
- 1 cup Greek Yogurt
- 10-inch size Large Flour Tortillas
- 8 Tostada Shells
Instructions
Start by making the lentil filling:
- Heat a saute pan over medium heat. Add the onion and sautee until softened, about 7-8 minutes.
- Then, turn the heat to low and add the minced garlic, walnuts, spices and 1 tbsp water. Cook for 2-3 minutes until fragrant.
- Add the drained and rinsed lentils to the pan and sautee for 1 more minute. Turn off the heat and set aside. (Note: If you are meal prepping, allow the lentils to cool and then pop into a container, label and put in the fridge until you are ready to make your Crunchwrap.)
Pico de Gallo:
- Chop the tomatoes, onion, jalapeno and parsley and place into a medium sized bowl. Add the lime juice, salt and pepper. Stir together with a spoon and set aside.
Assembly:
- Start by cutting a large tortilla into fourths and set aside. These sections will fill in the center of the crunchwrap.
- Next, on a flat surface, lay one large tortilla out. Top with 1/3 cup of the lentil filling right in the center. (Note: Resist the urge to overfill here! Too much filling and you don’t be able to fold and close your wrap!)
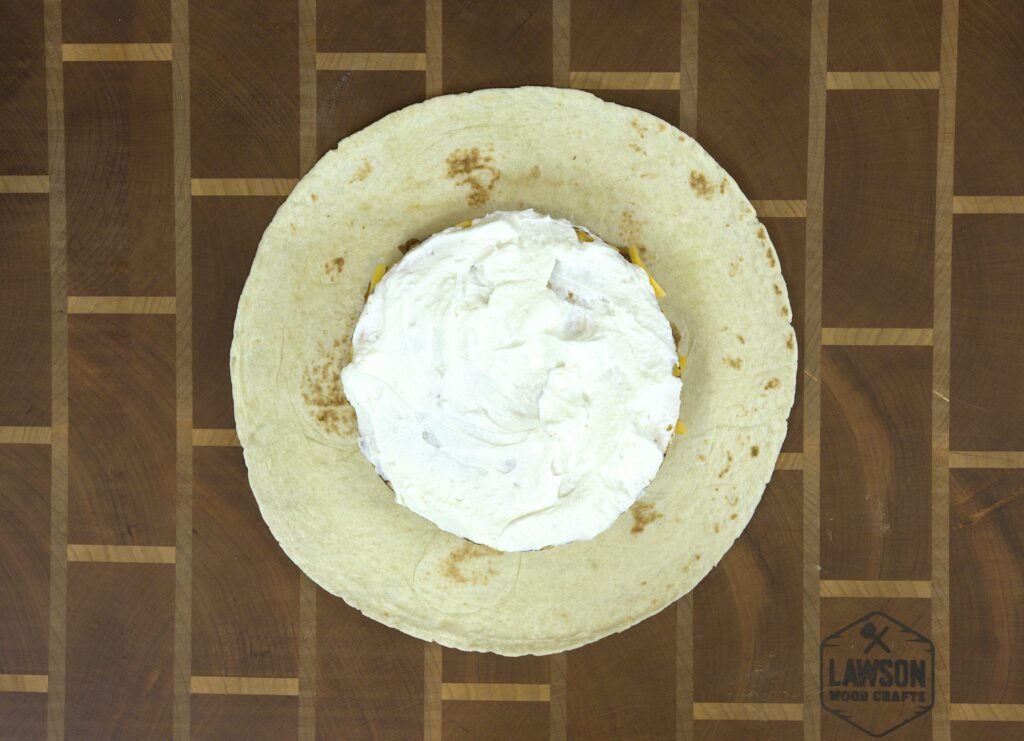
- Sprinkle 2 tbsp of grated cheddar cheese over the lentils. Top that with 1 tostada shell.
- Spoon 2 tbsp of Greek Yogurt on top of the tostada shell. (It’s easiest to pickup the tostada, spread the Greek Yogurt and then place over top the lentils and cheese.)
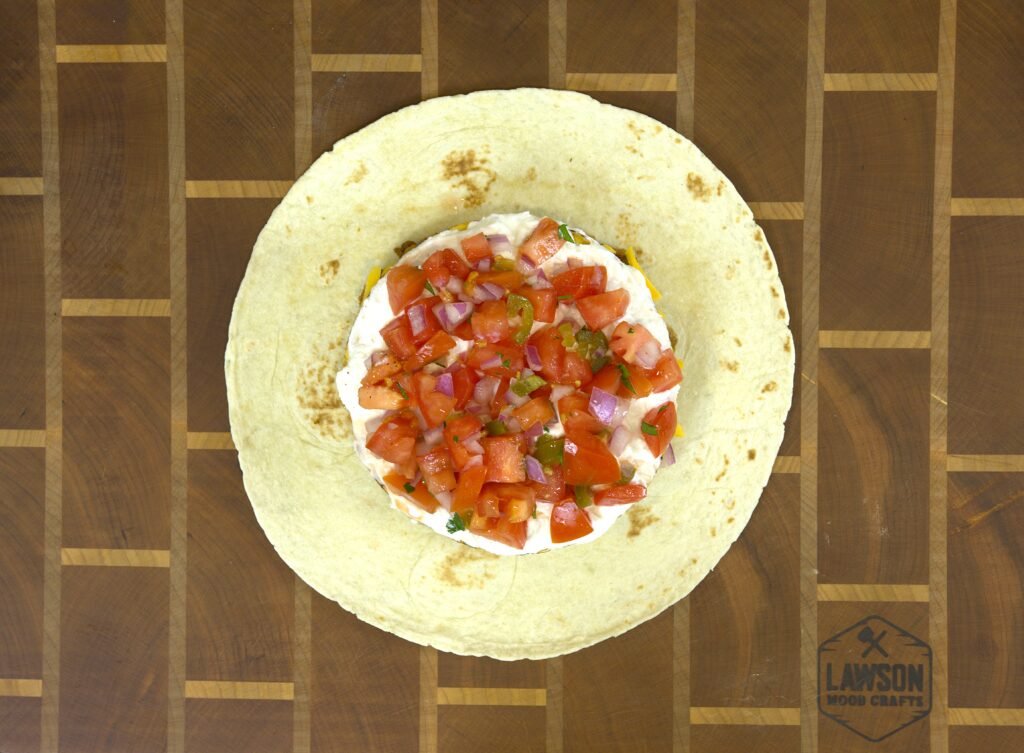
- To the Greek Yogurt, top with 1/4 cup of pico de gallo. (Note: I like to use a spoon and drain a little of the liquid off as i spoon the pico de gallo on so that the crunchwrap doesn’t get soggy.)
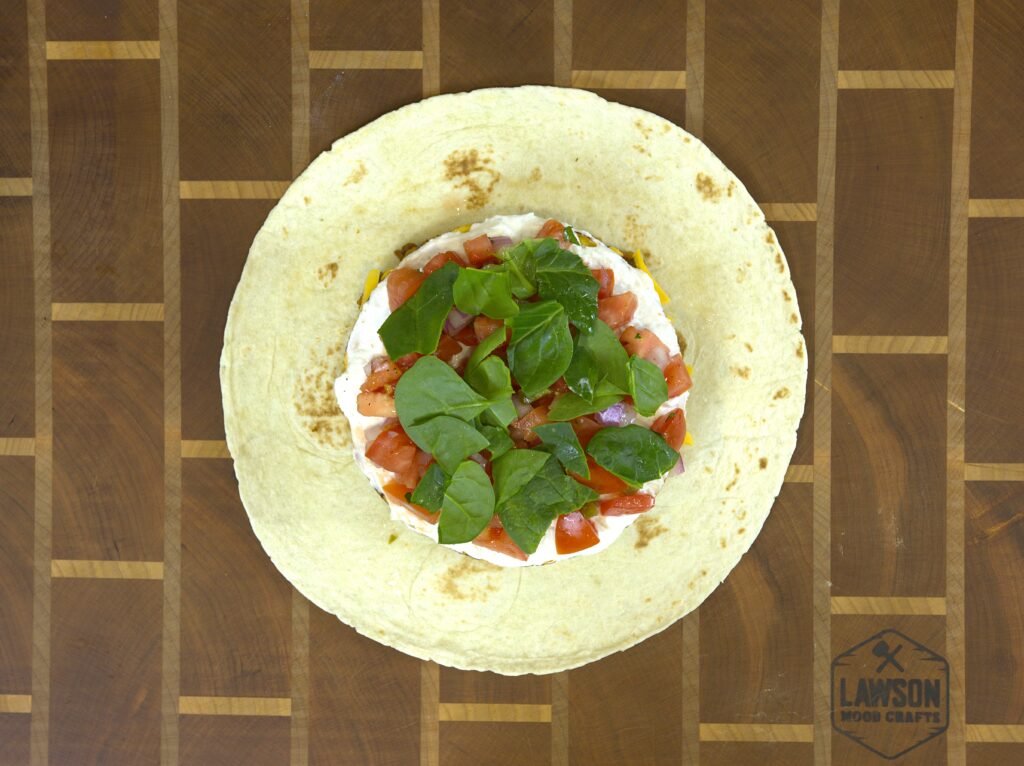
- Next, place baby spinach over top, just enough to cover the other toppings. If your spinach leaves are large, tear them into smaller pieces as you place onto your wrap.
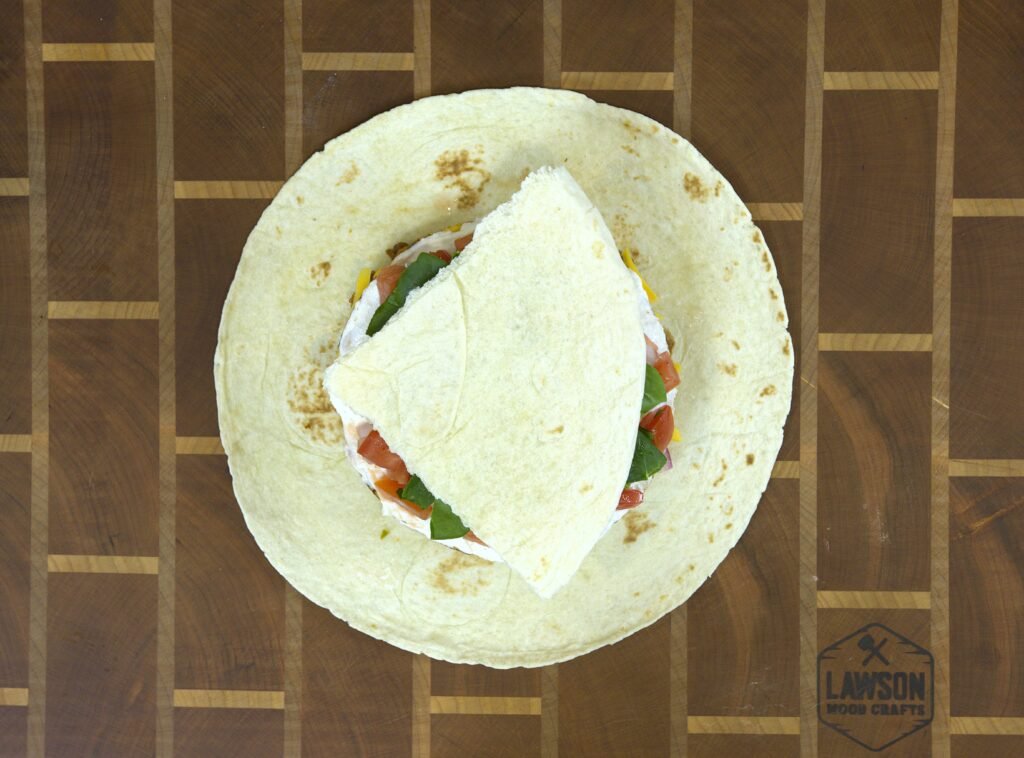
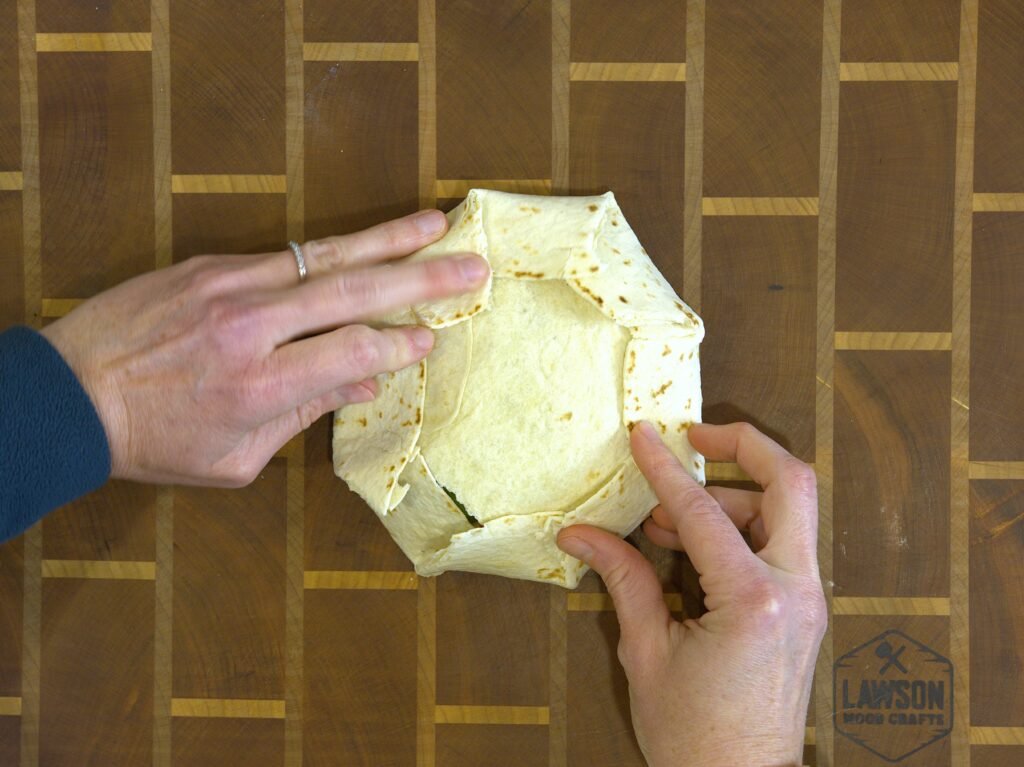
- Then place the 1/4 piece of flour tortilla right in the center on top.
- Next, fold the large tortilla over top of the center ingredients. To do so, start with a small section and fold it up and over towards the center of the wrap. Hold that with your finger and then fold another section over top, slightly overlapping each section. Continue folding and holding until the entire wrap is folded closed. Give it a good press down and place a small plate on top to hold your folds while you heat your pan up.
- Heat a cast iron pan over medium heat. Add 1 tsp olive oil.
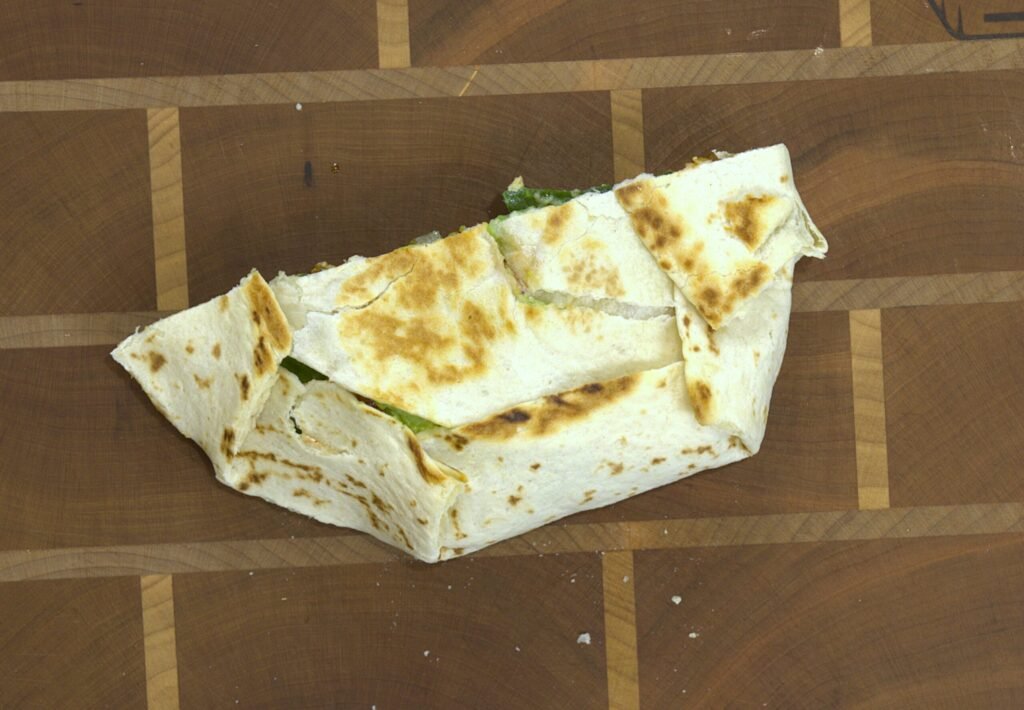
- Once the pan is hot, place the wrap seam side down into the pan. Cook for 3-4 minutes.
- Flip the wrap over and cook for another 3-4 minutes until nicely browned.
- Remove the wrap from the skillet. Slice in half and enjoy!
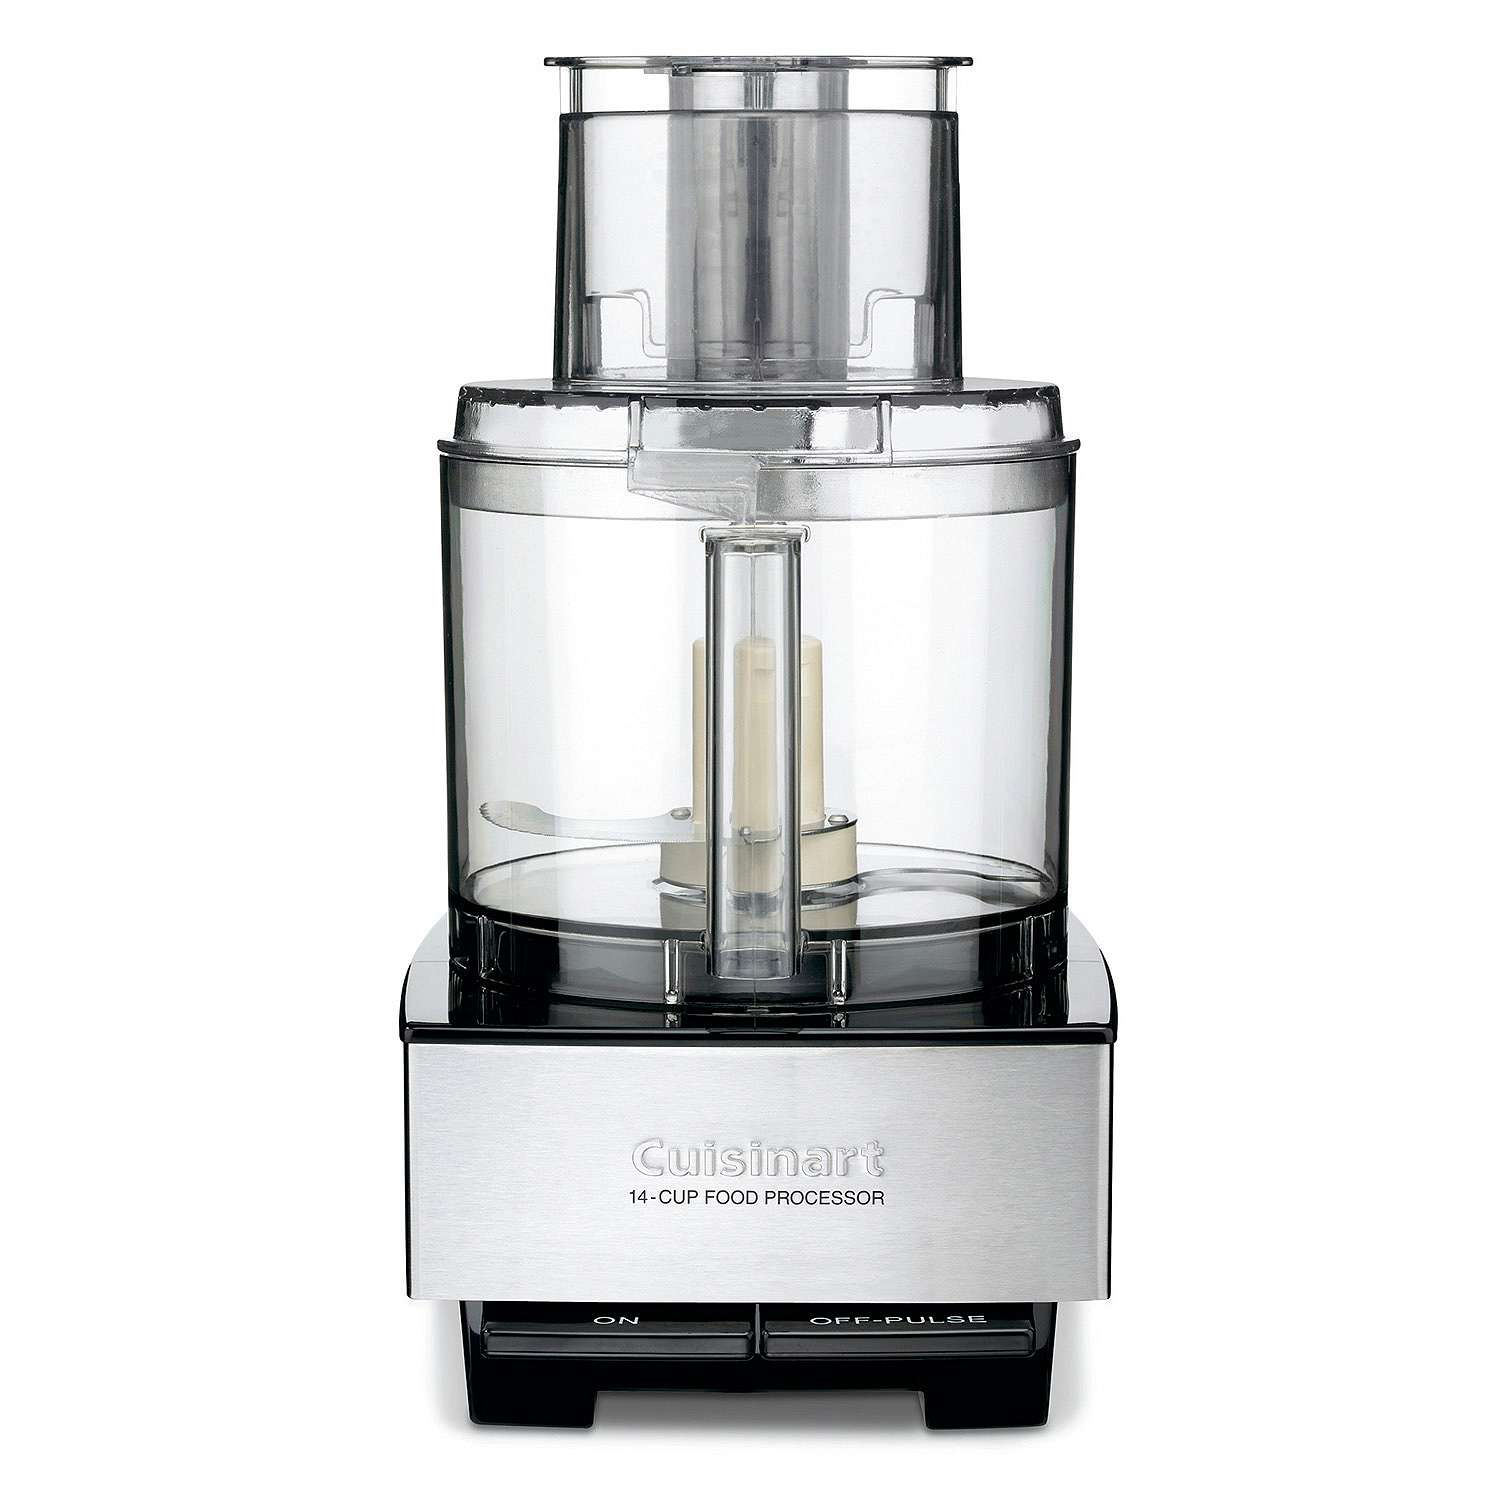
Equipment
 Buy Now →
 Notes
- If your flour tortillas are a little dry, pop them in the microwave with a damp paper towel for 15 seconds to soften them. Dry tortillas will crack and won’t fold like you want them to!
- Other optional add-ons that would be tasty: Guacamole or mashed avocado, swap salsa for pico de gallo if you’re in a hurry, romaine lettuce for spinach.
- Prep Time: 20 minutes
- Cook Time: 15 minutes
- Category: Dinner, Lunch
- Cuisine: Mexican
Nutrition
- Serving Size: 1
- Calories: 438
- Sugar: 11g
- Sodium: 775mg
- Fat: 14g
- Carbohydrates: 67g
- Fiber: 7g
- Protein: 16g
- Cholesterol: 8mg